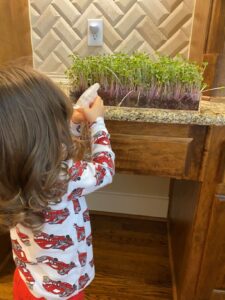
If you’ve been following me on Instagram, you know that I have been posting a lot about microgreens. I LOVE microgreens.
I feel like I could rattle on about the amazing benefits about them – healthy, easy, grows in any space, low-maintenance, quick-to-harvest… ummm easy (again!!)
I had a really good experience trying them for the first time with one of those kits from amazon, where you just need to water.
You can read about the kits I used and my experience growing microgreens, here!
I decided to try something that could be repeated. Please note that the kits are kind of a one-time thing… you need to buy the soil and seeds again. For me, buying one bag of seeds vs. a new kit each time seemed like a more cost-effective approach.
My mom actually inspired me to look into the mason jar method.
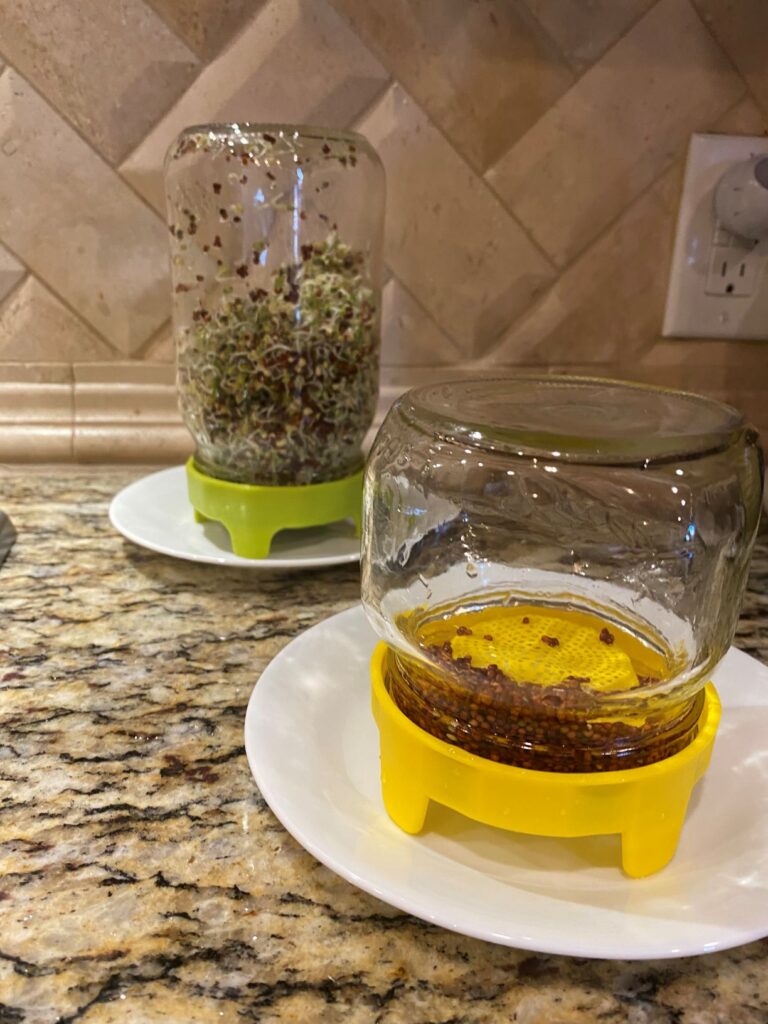
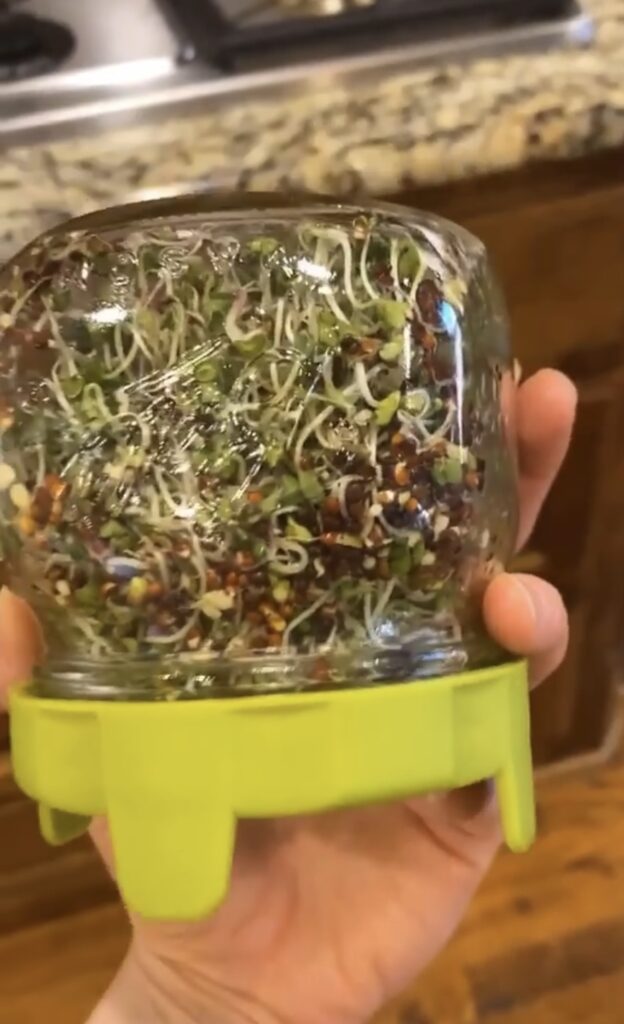
Mason Jars are great for sprouts!
They are so versatile. They are cheap. You can literally find them everywhere… so why not?!
The biggest thing when growing microgreens in mason jars is making sure you have the right lid!
I have the wide-mouth jars and it was easy finding a lid to fit. You want something that is perforated enough to drain out water, but something that has small enough holes to keep the tiny seeds from escaping. If you’ve seen microgreen seeds, you know how teeny tiny some of them are.
Seed Sprouting Lids
On amazon, there are multiple products to choose from. You can go plastic or metal. You can select something that needs to be tilted (45 degrees in a bowl) or a lid with a built-in stand.
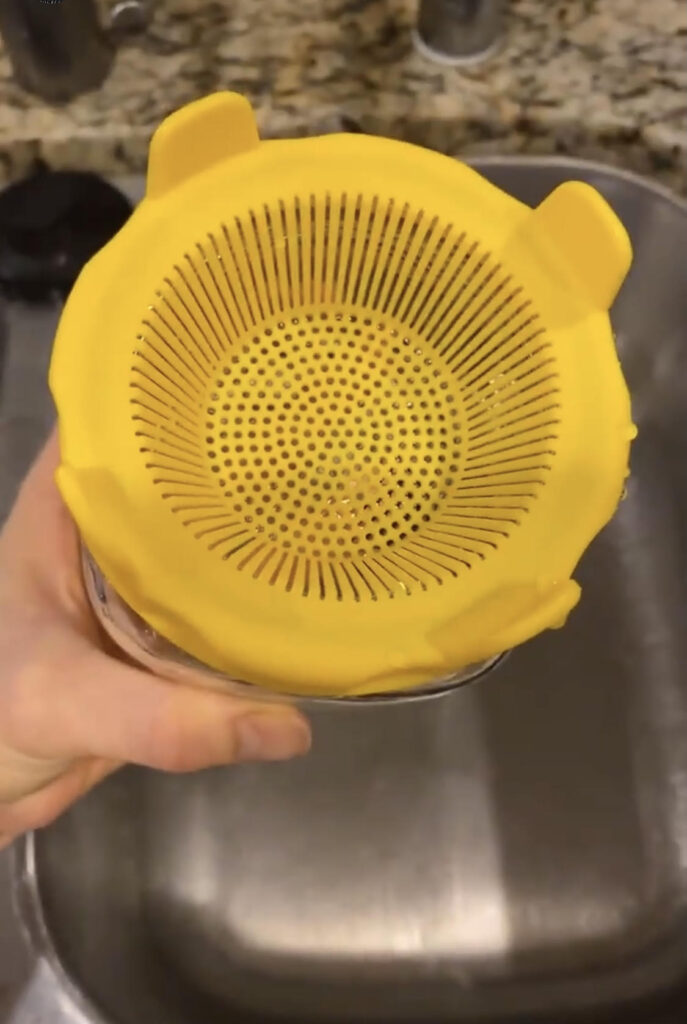
I think it’s a little bit of personal preference. I purchased both the plastic lids and mesh metal lids.
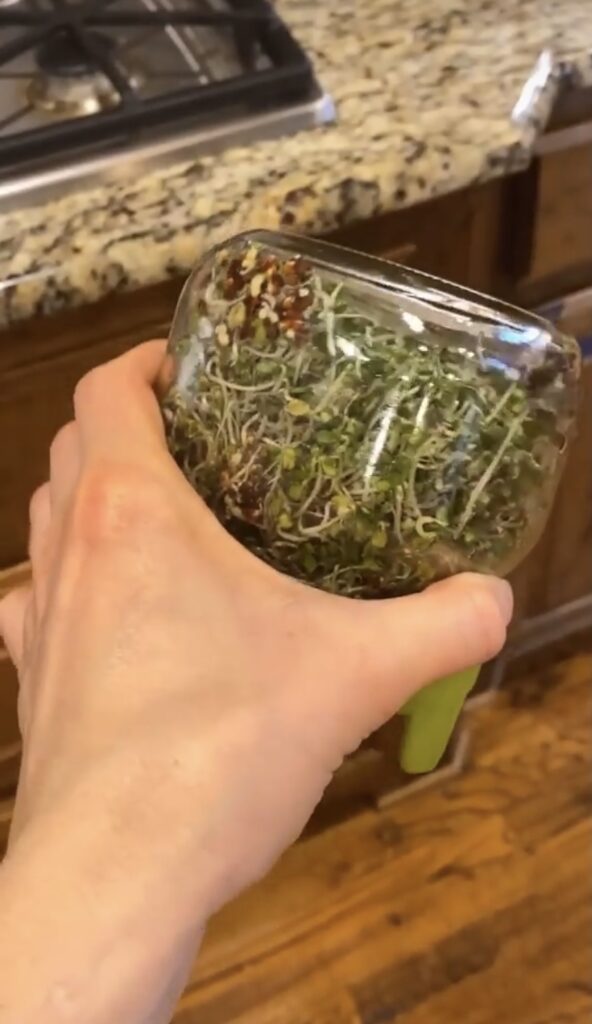
Both of mine had stands that allowed the jars to stand upside down on their own.
Mason Jar Method Research
I found a few helpful YouTube videos that I will share below,
CaliKim is my girl for a lot of gardening wisdom. She makes everything look so easy.
This video was also great and I liked how he brought you along with him each day.
Mason Jar Microgreen Instructions:
1. Gather supplies
You’ll need a mason jar, microgreen seeds, water, special lid with vents/holes, clean bowl or saucer plate.
2. Soak seeds overnight
You’ll probably want to follow the directions for each type of variety, but most advise you to let your seeds soak overnight before beginning.
3. Rinse, drain, and flip upside down
Repeat this process 2 times every day for 3-4 days
Because the sprouting lids have holes, you can leave everything inside the jar. Just run tap water over the sprouts, give it a good swirl… gently shaking the seeds/sprouts off the side of the jar… swirl with water.
Then give it a thorough dump to get as much water out of the jar as possible. You want to flip it upside down, to continue letting any extra water drain out.
You want to leave your sprouts wet but not soaking or sitting in any water.
4. Monitor your seeds
Between days 4-6 you should be in a good place to rinse, dry, and use your sprouts. Your sprouts should “look” ready and smell good. If anything starts to turn gray, brown, or purple… you probably waited a little too long to harvest.
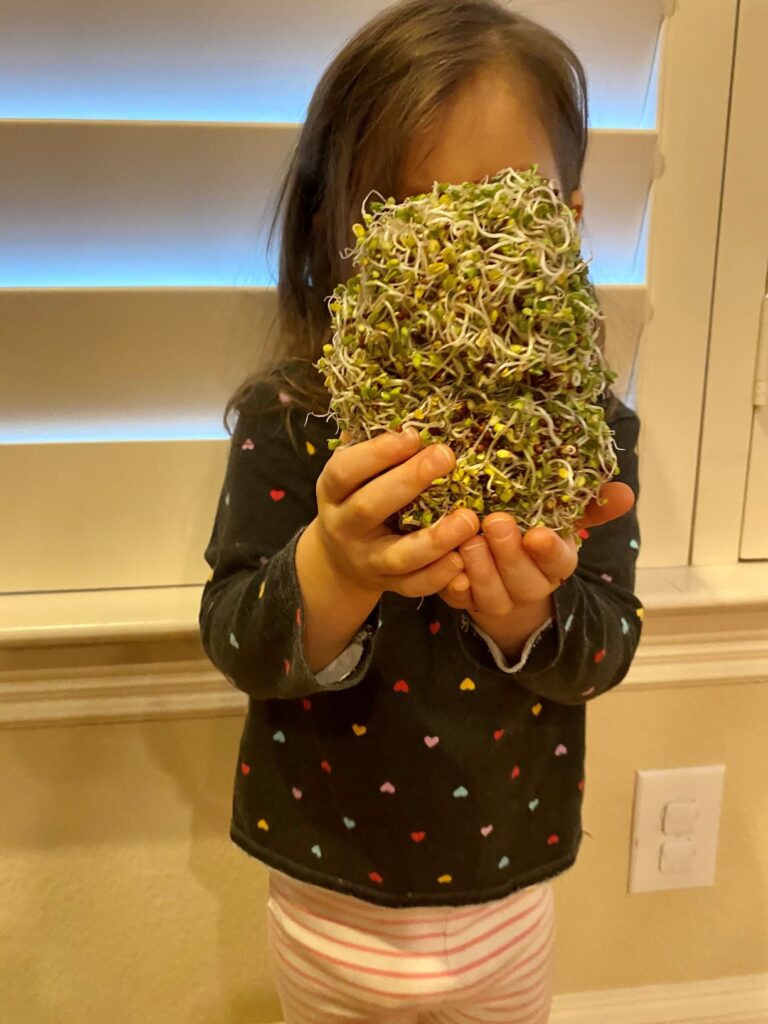
5. Harvest and enjoy!
Microgreens in a Mason Jar are really easy!
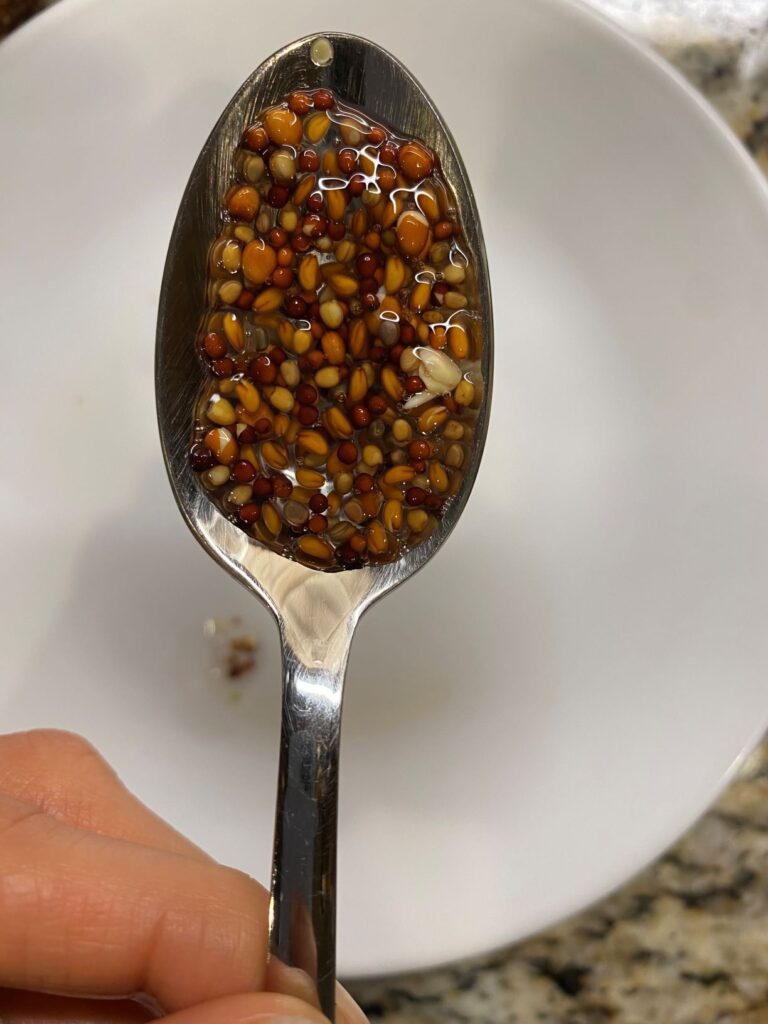
One mircrogreen fail that I wanted to mention, in case you find yourself in a similar situation… is to make sure that you read the instructions on the microgreens before you start or before you purchase.
I love spicy radishes and thought it would be cool to start with this variety. Unfortunately, I didn’t read the label which warned that this variety needs soil to grow and is not compatible with water-only.
I struggled with this for a long time… I blamed my issues growing microgreens on the lids, which led me to purchase new lids… which didn’t solve the problem (shocker)!
For this particular variety, it warns you that the microgreens will develop a gel-like outer substance… which is exactly what happened to me.
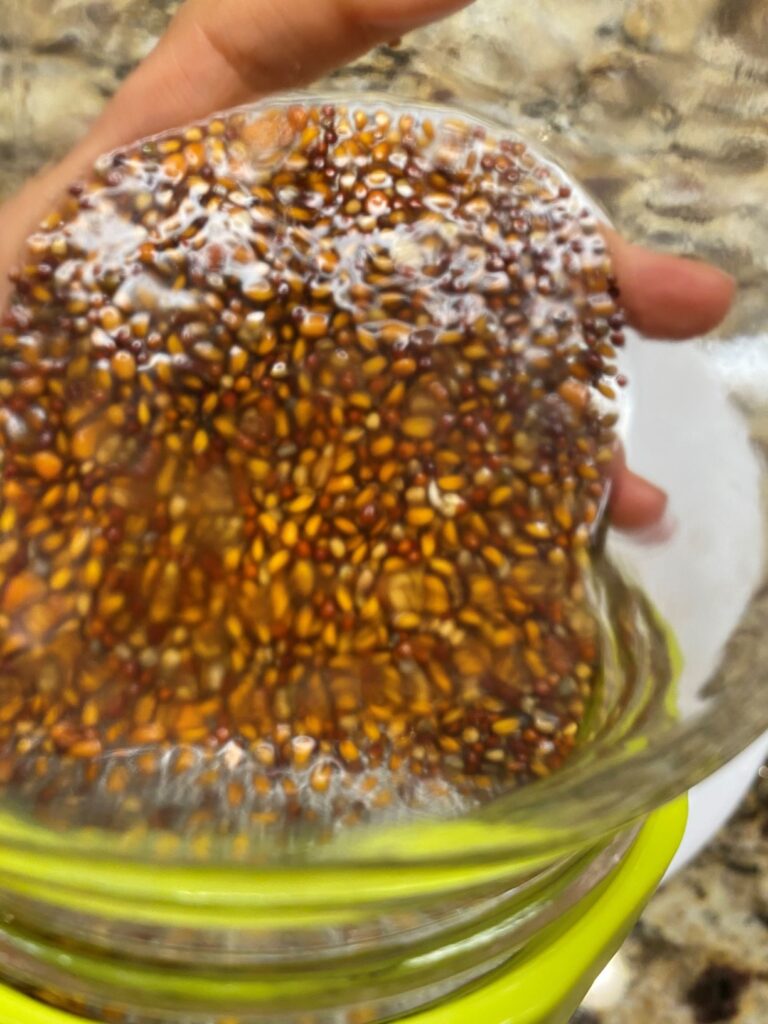
Take it from me, read the microgreen labels and make sure that it works with water only!