I’m so excited to write about my recent obsession – MICROGREENS! These have been super trendy lately and if you haven’t given them a try, I suggest you hop on board. They are awesome because –
1. Microgreens are a high-turn around crop
You’re looking at a seed-to-harvest cycle of just about 10 days! Quick producers are always appreciated – especially with newbie gardeners who need a little boost of confidence to grow something fast.
2. Microgreens are a nutrient-dense super food
It’s incredible to discover how healthy these greens are for you. Especially considering how small they are. Nutrient content varies by type… but you can expect to find potassium, iron, magnesium , and zinc!
3. Microgreens are as low maintenance as it gets
Once you set up, you pretty much just mist them with water to keep everything hydrated. It literally doesn’t get easier than this.
4. Microgreens thrive indoors
This is great for anyone who perhaps doesn’t have the space to grow a lot of plants/food. All you really need is a kitchen counter… you could even grow in a college dorm room!
MICROGREENS I USED
I knew I wanted to do a kit because I’m starting from scratch and wanted something turnkey.
Of course, you can build your own and pretty much everyone who grows microgreens professionally or as a side hustle, builds their own set-ups (i.e. buys everything separately: trays, coconut coir, seeds).
But since this is my first time to dip my toes into microgreens, I wanted something that included everything (and preferably with directions).
When I began my research about microgreens, I stumbled upon this website… which lists out the top 14 kits. It’s an awesome resource to show you the top kits on the market. It included the pros/cons and prices! I found the kit I eventually purchased from this list.
After going through the list, I narrowed my cart down to these two options:
I liked the price, the fact that I could get them on Amazon Prime, and I liked that I could repurpose the acrylic tray for more microgreens or something else if I didn’t like the process.
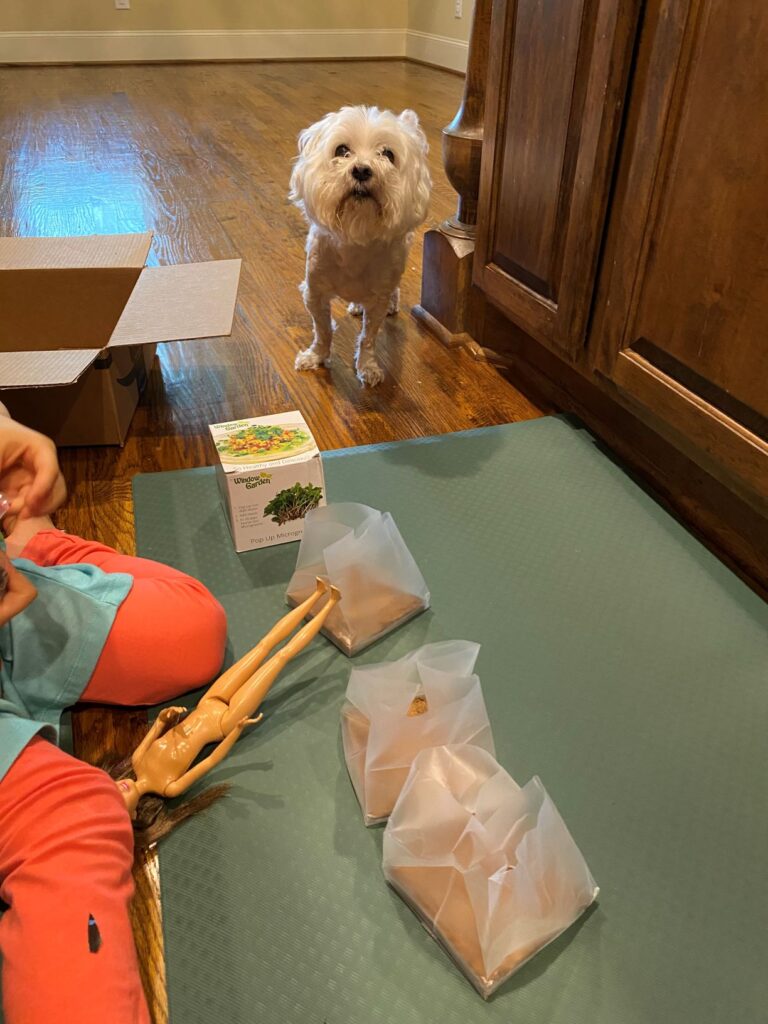
THE SET UP PROCESS
I can’t complain about the setup process because it was pretty dang easy! Luckily, everything comes in the kit. It’s a “just add water” situation. But here’s a step-by-step –
- You open everything up
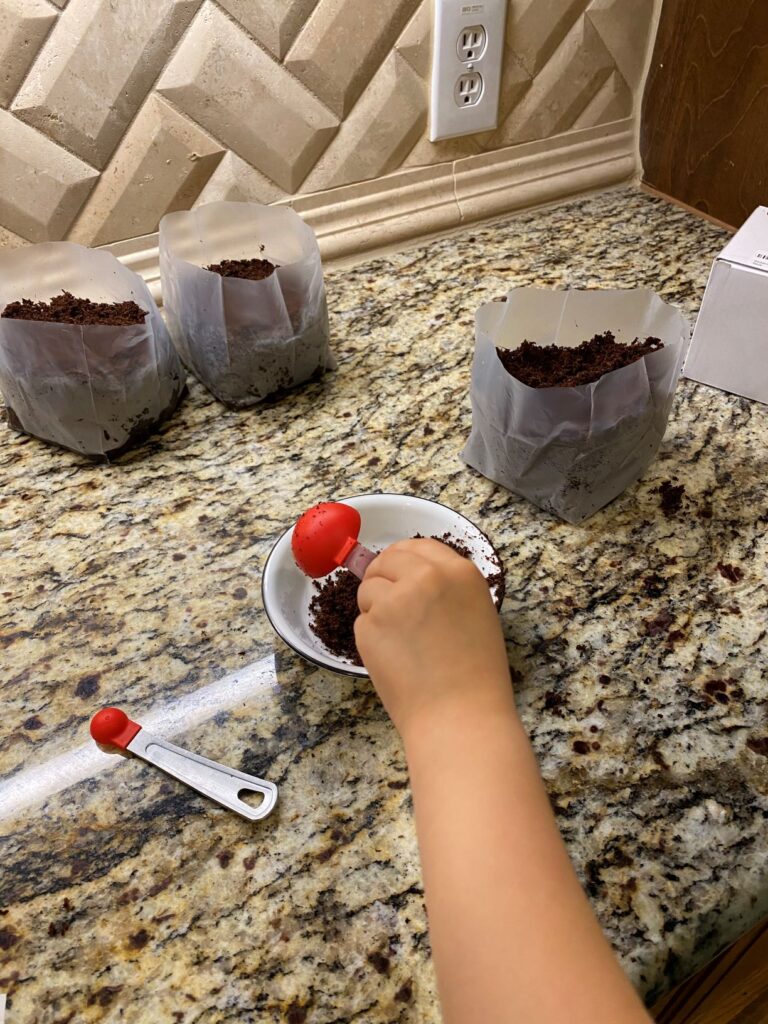
- Add water to the coconut coir, let it expand and turn into fluffy soil… get it to the right consistency for planting
- Scoop out a little bit of soil, set aside. This is what will go on top of your seeds once you’re done planting everything
- Sprinkle microgreen seeds out as evenly as possible
- Add back the soil you set aside
- Spray everything with a little bit of water
- Set preferably in a window sill or counter and you’re done!

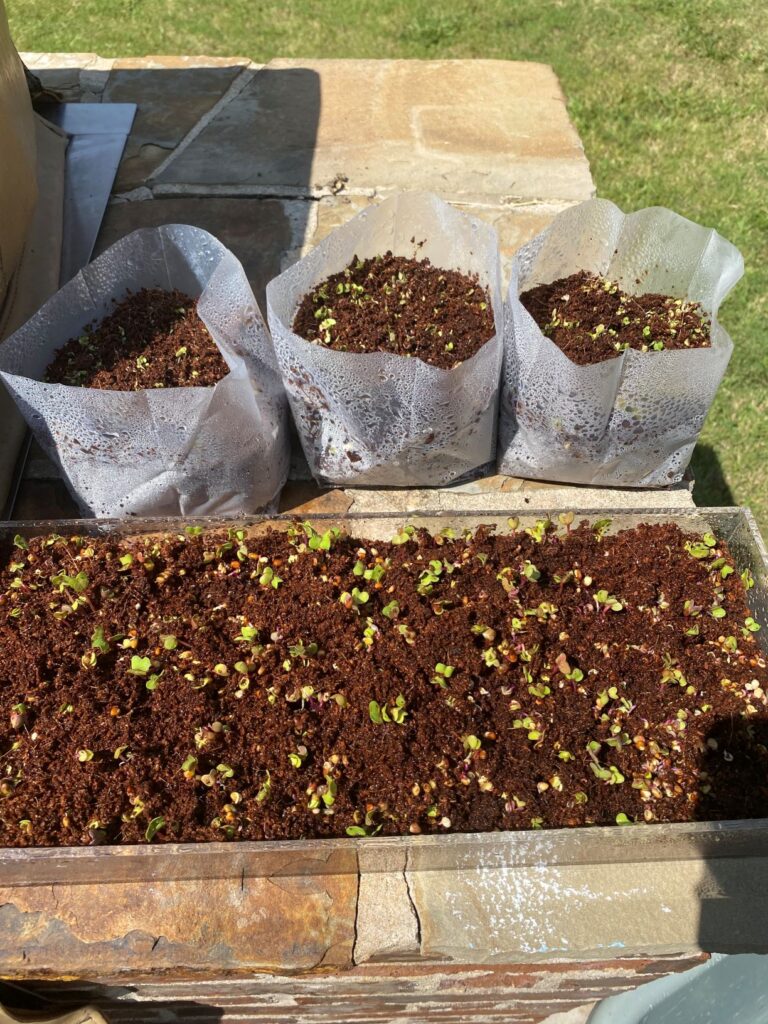
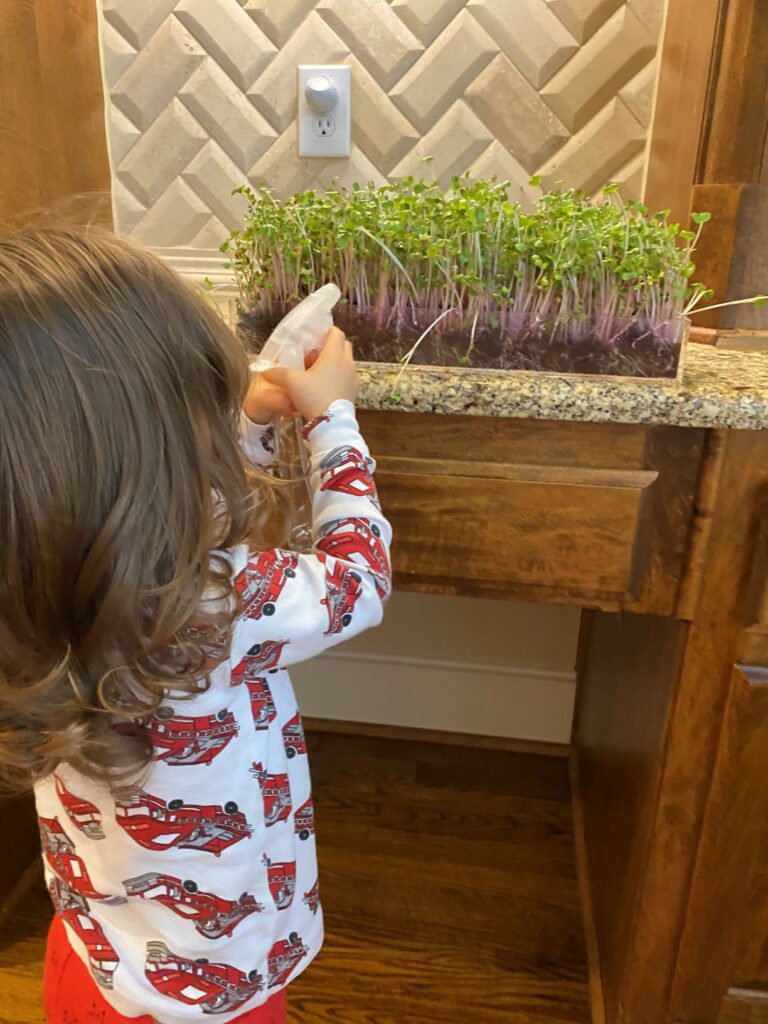
Where it sat and how we took care of it
I was a little hesitant to let the kits sit on my kitchen counter because my kitchen doesn’t get the best natural light. We do have under the counter lights, but I didn’t know if that would work. For some reason I felt the need to supplement with real sunshine.
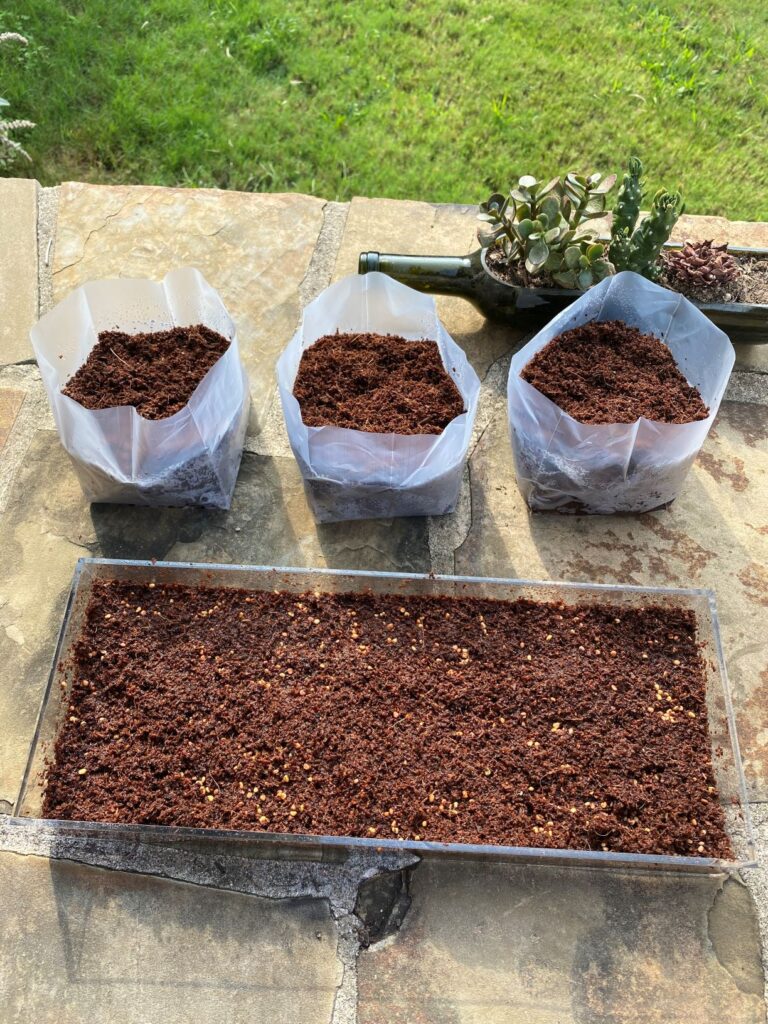
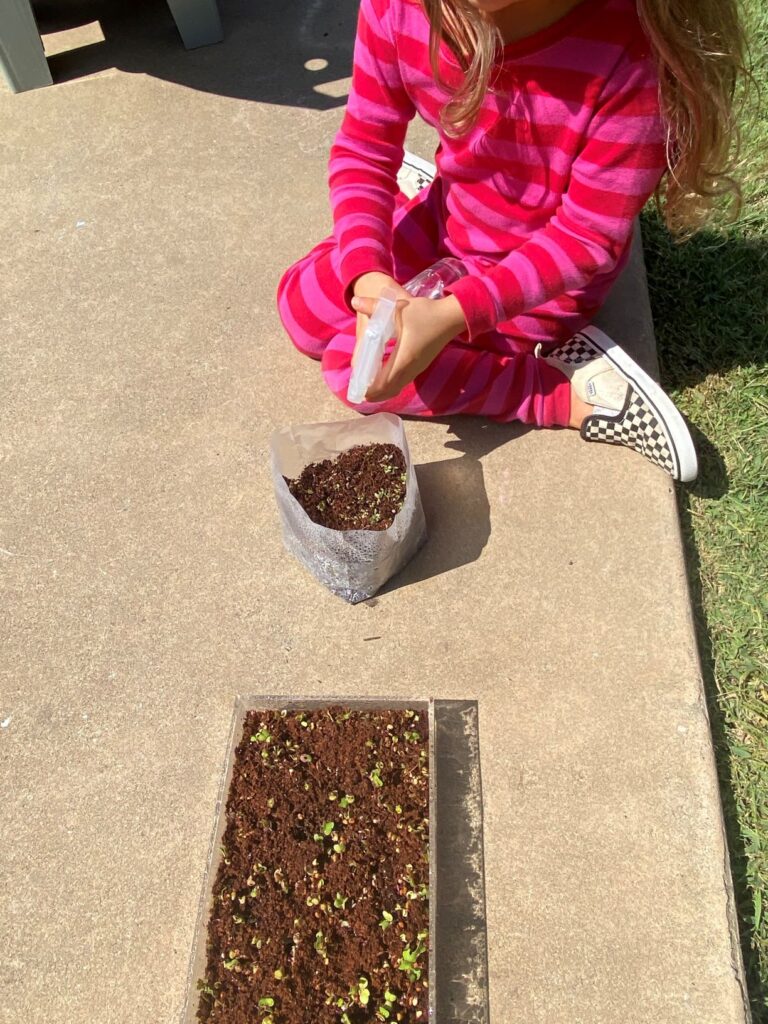
The first few days (Days 1 – Day 3), I brought them outside to a sunny section of my backyard. I gave them about 3 hours of “full sun, outside” light. But then Day 4 through Day 12, they just sat inside with artificial lights.
I’m happy to report that they did great without good window lighting and I probably didn’t need to take them outside/inside those first few days. To me, that’s best-case scenario so moving forward I’ll just leave inside from the beginning.
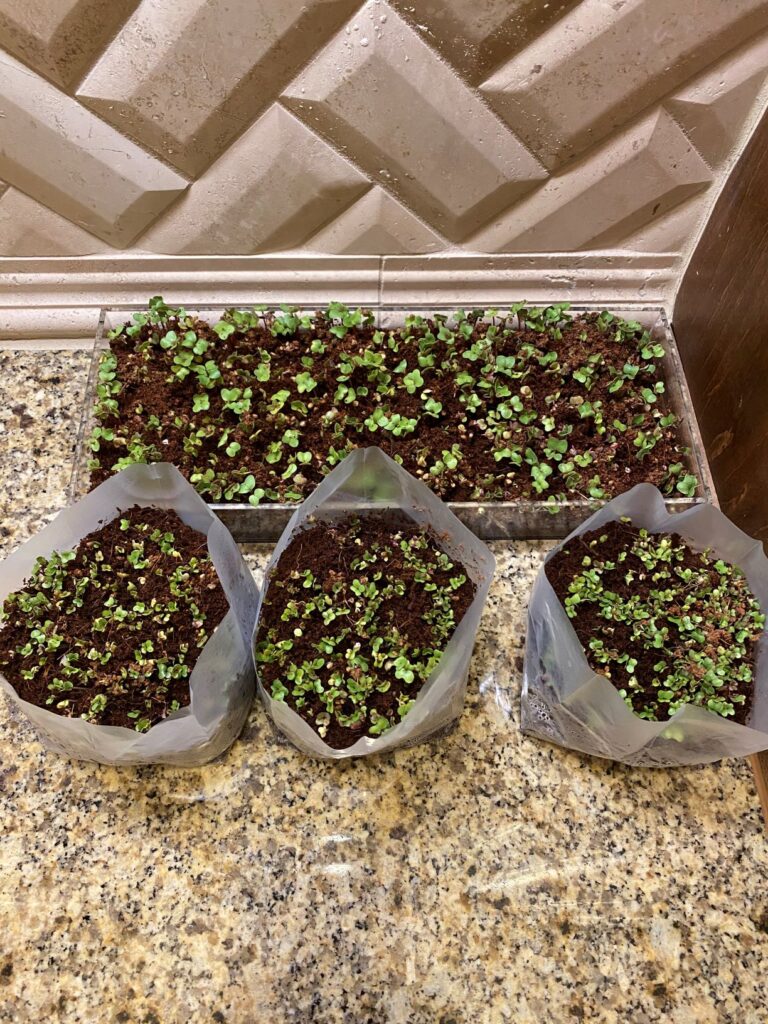
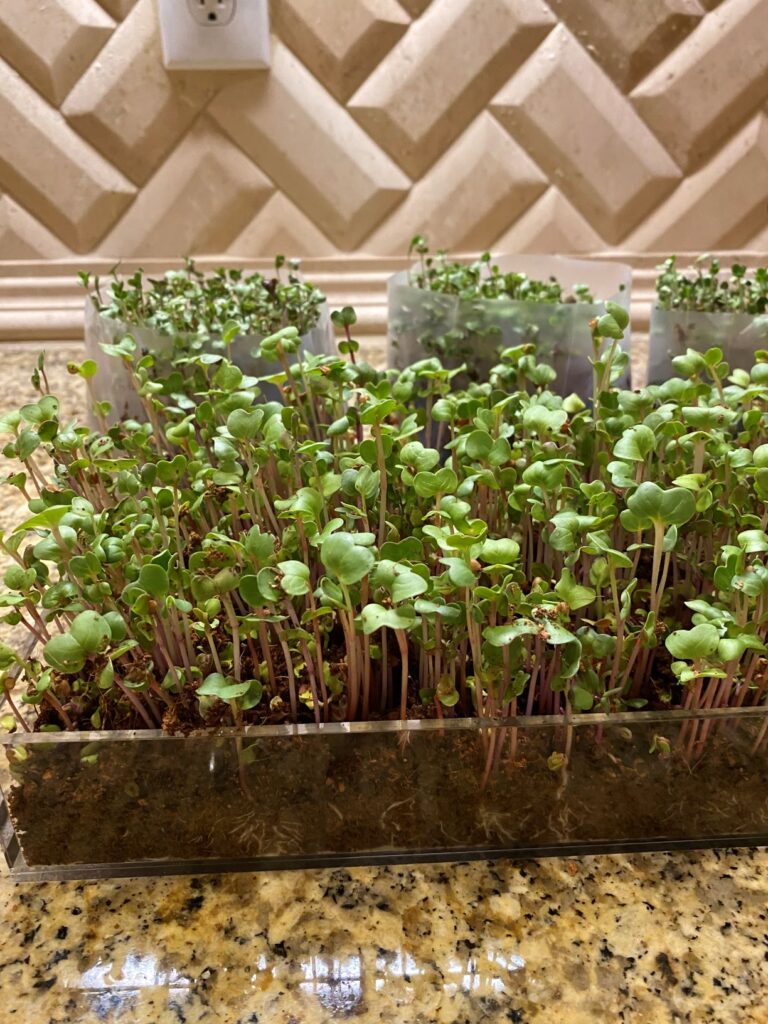
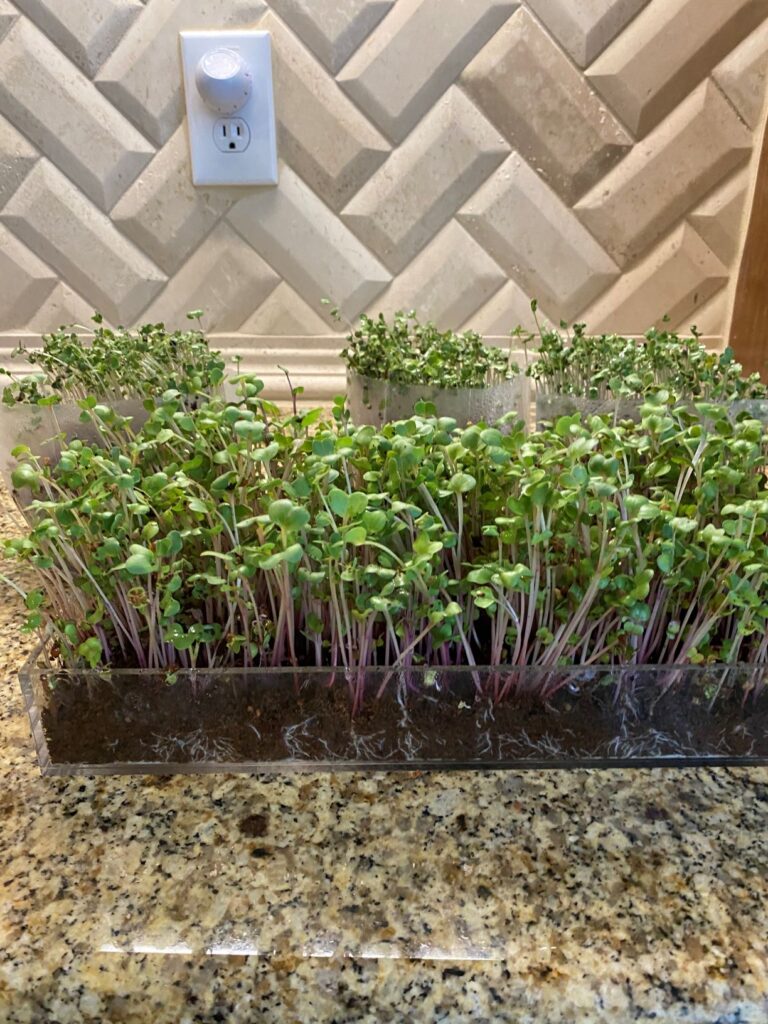
DAILY PROGRESS
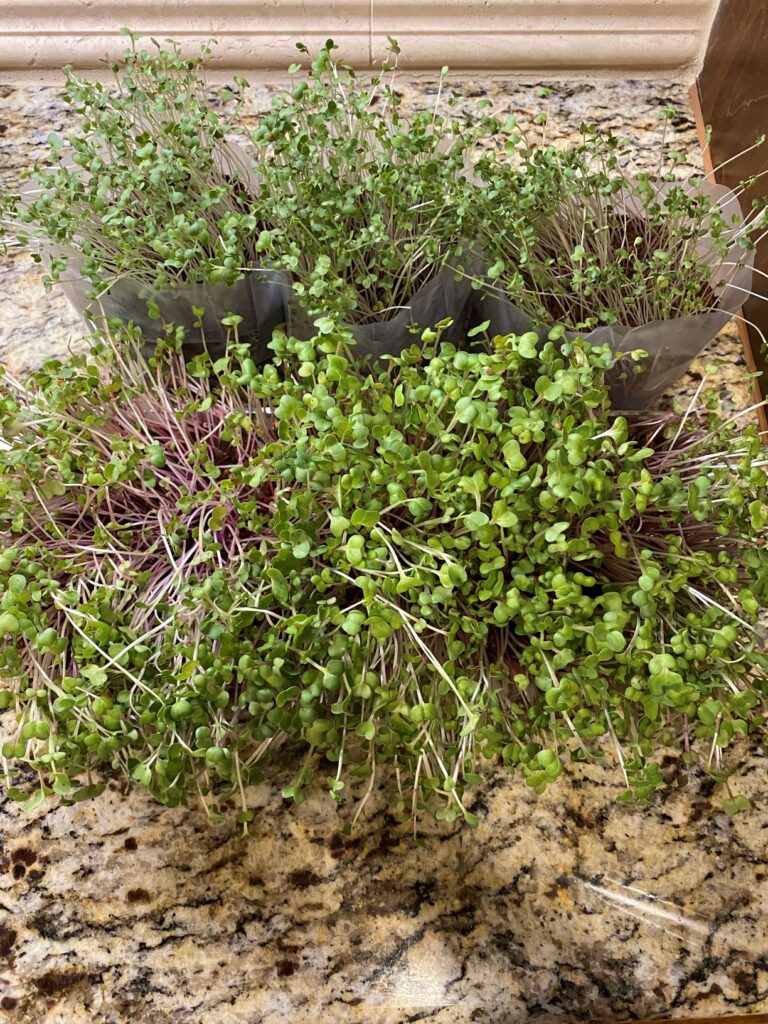
MIRCOGREEN HARVEST
I’m a little embarrassed to report my negligence here – especially because I’ve been so transparent on Instagram Stories (everything is saved to a highlight) about our day-to-day progress BUT I should have harvested the sprouts on Day 10.
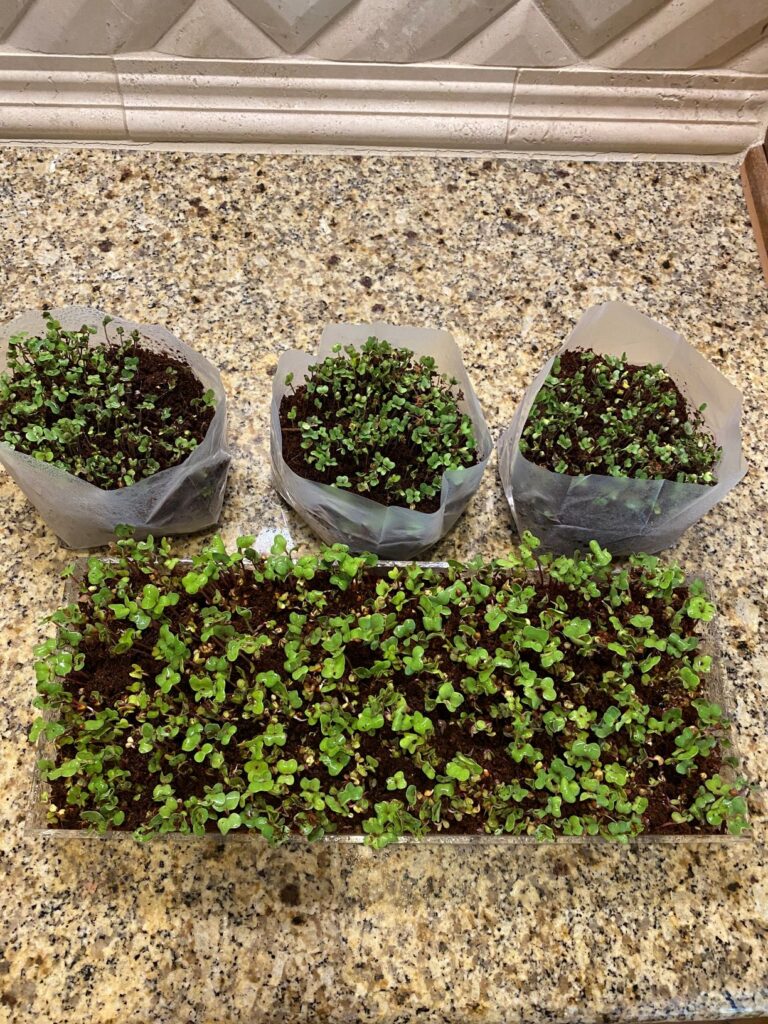
By Day 12, everything was up and actually starting to lean over because they were too tall for their own good. Nothing looked brown or dead, it’s just that some of them couldn’t support themselves standing up.

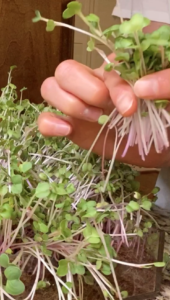
I decided to take the scissors out and give them a shot! I whipped out my kitchen scissors and started snipping rows. I tried to get as close to the soil line as possible, but with some of them leaning over, it was kind of hard to tell.
Once I had enough (a good size handful) for our toast, I rinsed them, dried them, and sprinkled them on top. We used brown bread, butter, tomato paste and zesty radish microgreens! Served with cucumbers, salt to taste – yum yum yum!
I was not expecting the microgreens, for being as small as they are, to be jam packed with so much flavor! It’s very impressive. I will definitely continue to grow these on my kitchen counters.
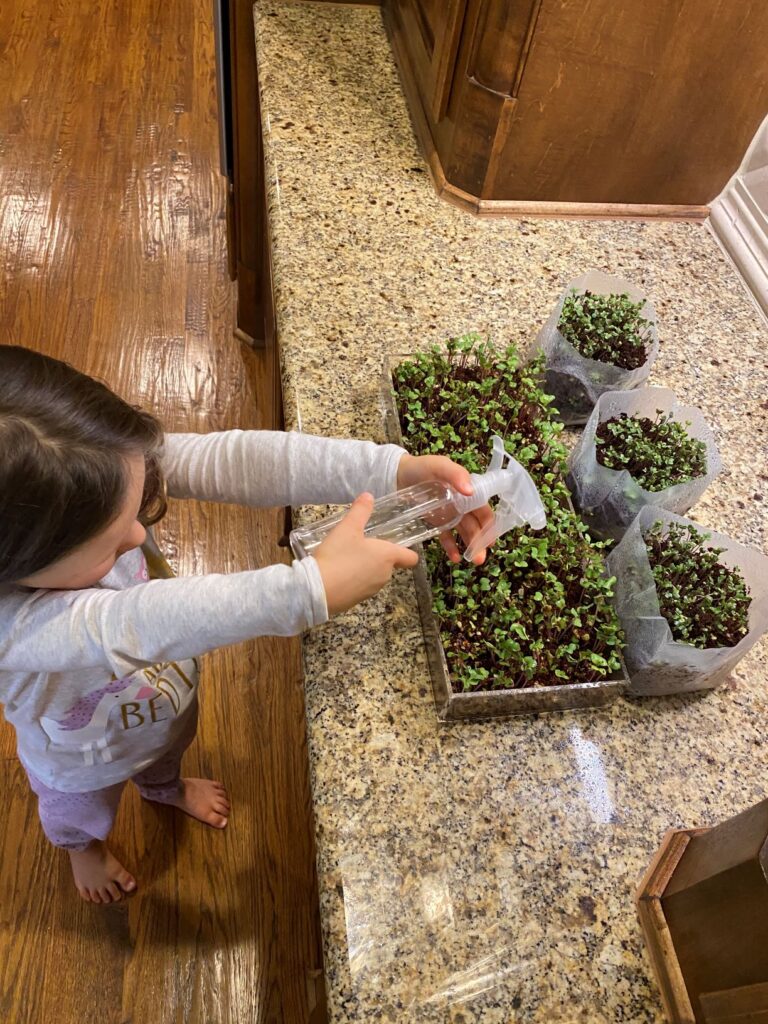
It’s a great activity to do with your little ones! It easy enough for kids to put together (with supervision). It’s fun to watch the soil expand. It sprouts quickly so you feel like you’re doing something right and they taste incredible. My kids especially loved the mister and liked checking in on our progress each day.
I can’t wait to try new varieties – like sunflower sprouts – and convince the garden tots to give them a shot. If I can get my toddlers to eat this, this truly is a SUPER FOOD!
Let me know if you’ve jumped on board. If so, what are your favorite kinds? What kits have you tried and would you recommend?
Again, here’s the links in case you want to give these specific kits a shot!
Future kit wishlist
- CHEF’N MICROGREEN GROWING KIT, $28.99, I like the look of the white, minimalistic tray (compared to other plastic ones)
- GROW BOOK COUNTERTOP MICROGREENS GARDEN (CHILDREN’S EDITION), $38.00, This one is so cool because it’s made to do with kids! I also like how it comes with LED lights and looks like a real book
- HAMAMA MICROGREEN STARTER KIT, $39.95, this was actually the first kit I ever found and it’s been on my wishlist ever since I started researching… one day!
**DISCLAIMER: THIS POST MAY CONTAIN AFFILIATE LINKS. IF YOU DECIDE TO PURCHASE THROUGH THESE LINKS, AT NO ADDITIONAL COST TO YOU, I MAY RECEIVE A COMMISSION OF THE SALE**