Hey y’all, it’s FALL and that means it’s time to PLANT GARLIC.
Garlic is a popular vegetable to grow this time of year here in Texas. I’m in the Dallas area (zone 8A) and right now is the PERFECT time to lay down your garlic cloves to gear up for next year. So many people I follow on Instagram are talking about garlic, and since I love garlic, I am more than ready to plant this crop for the first time.
I actually feel slightly behind on my garlic because it’s been on my to-do list since October. Please note that 2020 has been a very mild fall season… I can still go outside in a tank top most days (which is crazy because usually it’s much colder). Perhaps I just got lucky and should probably start a bit earlier next year if it happens to be harsher.
Anyways, we are here now and ready to get my favorite cooking ingredient ready to go!
Garlic Seasonality
First, let’s go over the basic seasonality for garlic –
- It’s best to plant garlic in the fall because it gives them enough time to develop strong roots in order to last through the cold winter months.
- Did you know that garlic actually stops growing in the cold? It’s totally okay though, once the weather warms up again they start growing. The extra time in the ground allows them to grow nice and big for a mid-summer harvest.
- Garlic likes to grow in cooler temperatures, but definitely before your first frost. I’ve heard that a good rule of thumb is before Halloween (oops).
- Basically planting garlic in October/November means that everything should be ready by the next summer.
Tips for Successfully Growing Garlic
- Garlic likes to grow in loose, well-draining soil. Garlic is prone to rotting if the water is unable to drain properly.
- Having a pH between 6.0-7.5 is ideal for growing garlic.
- It also likes to receive full sun; 6-8 hours of light is good.
Instructions for Planting Garlic
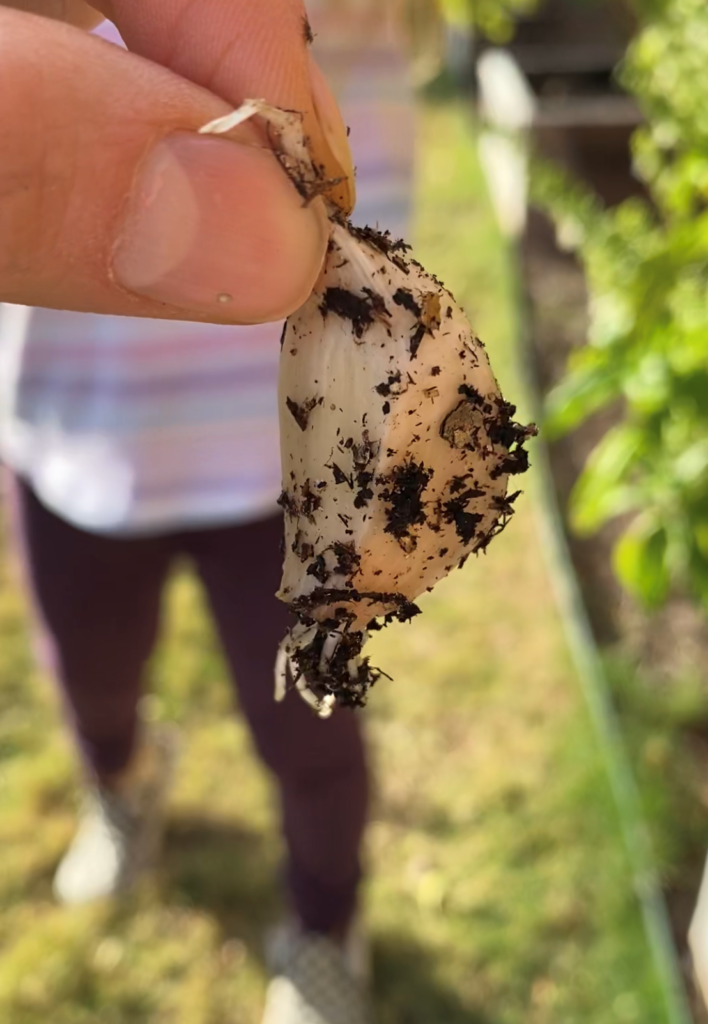
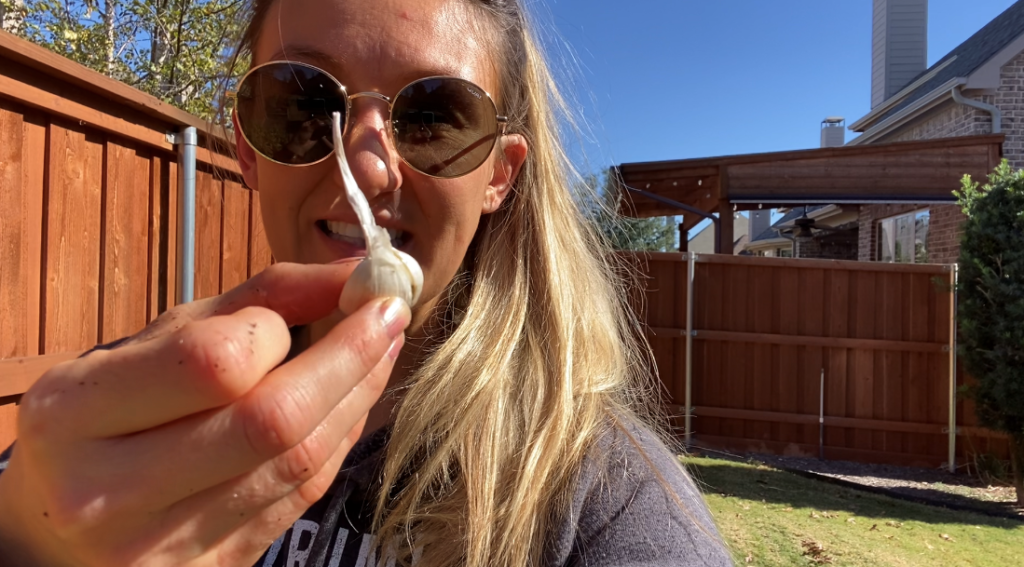
Step 1: Break Apart Garlic
Break apart garlic, until you have individual cloves.
It’s okay to leave the flaky shell around the clove, it doesn’t need to be prepared like you’re about to cook it.
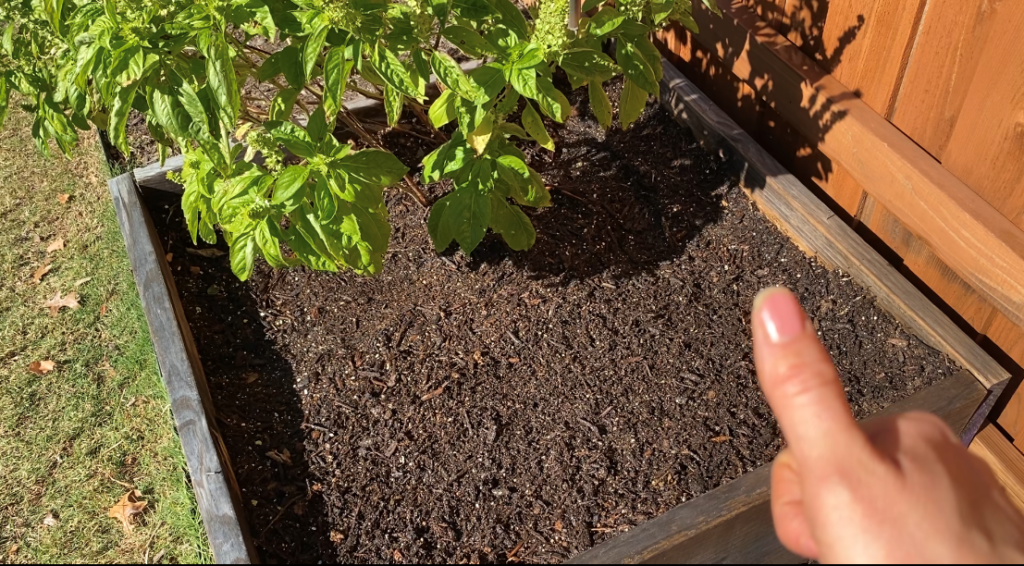
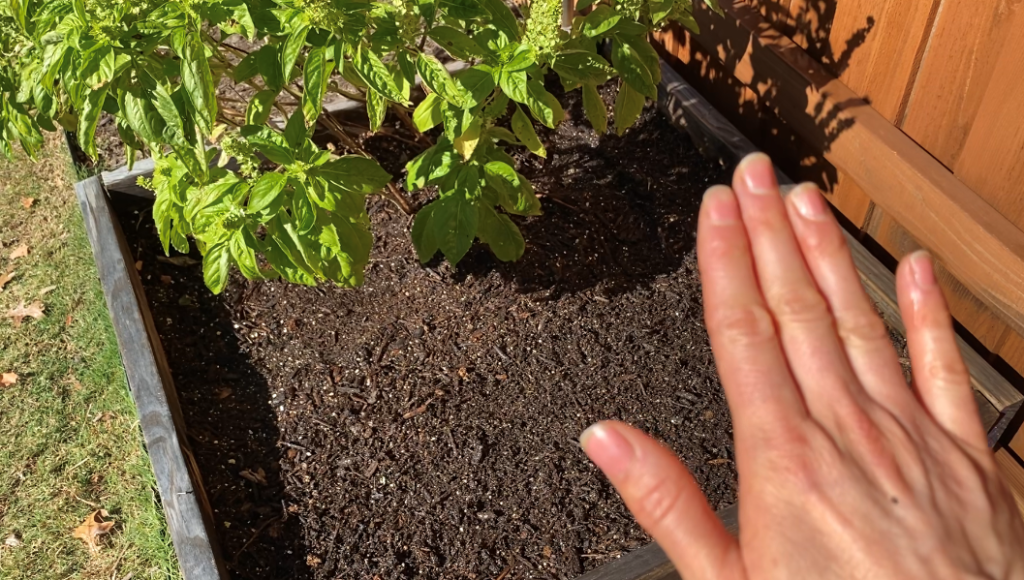
Step 2: Prepare Your Soil
Prepare your soil – water and even everything out (if necessary). It’s also great if you have fresh compost to add on top.
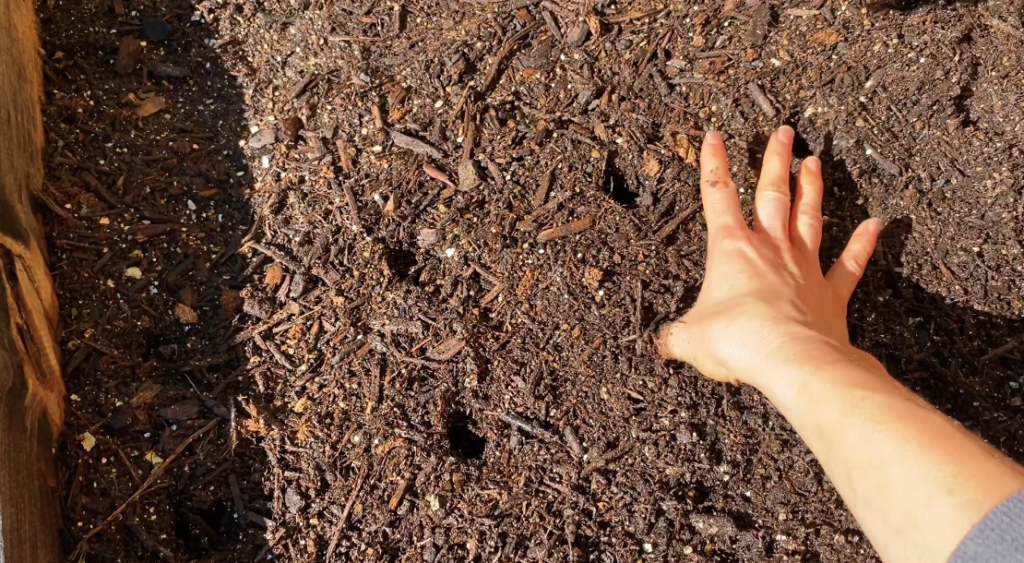
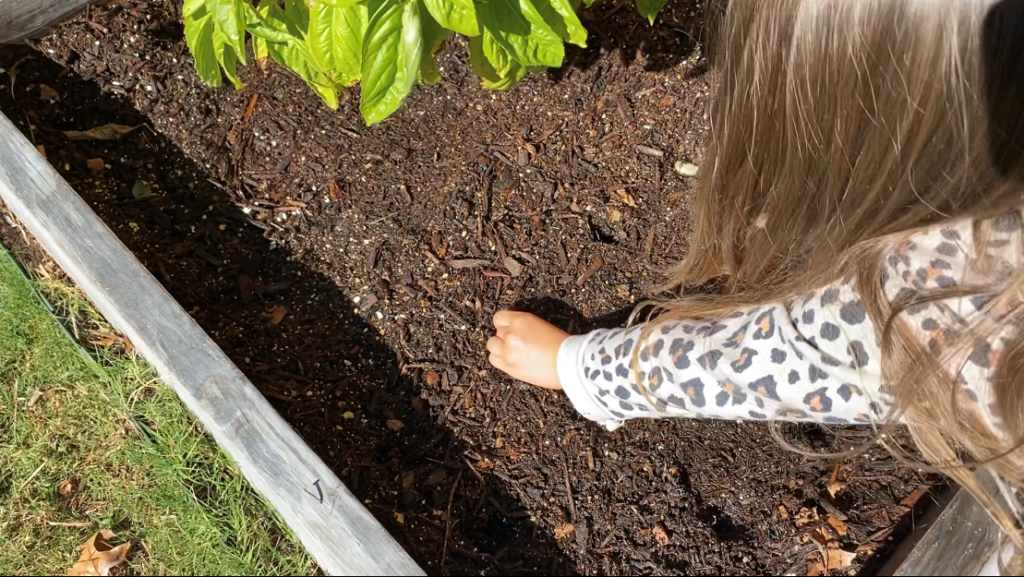
Step 3: Create Your Garlic Holes
Start creating your holes.
The rule of thumb we followed, is to plant one thumb’s length down and one hand’s width apart.
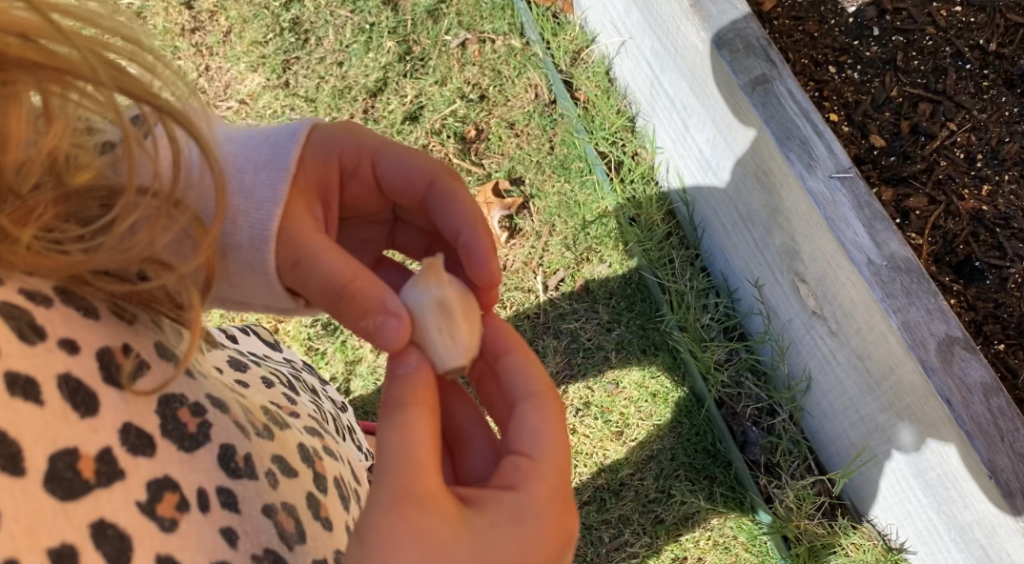
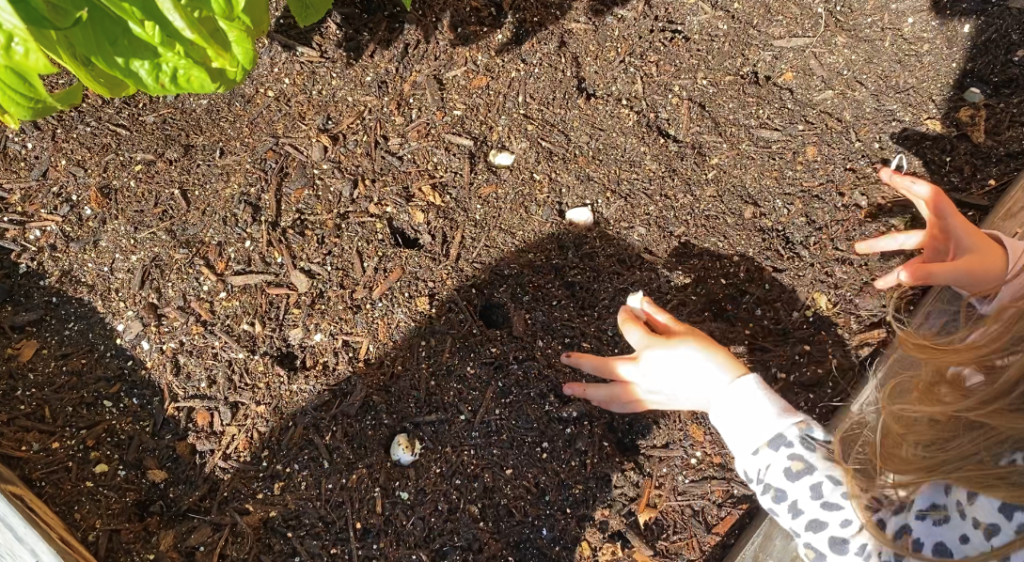
Step 4: Plant the Garlic
Place your garlic inside your holes. Make sure the pointy side is facing up.
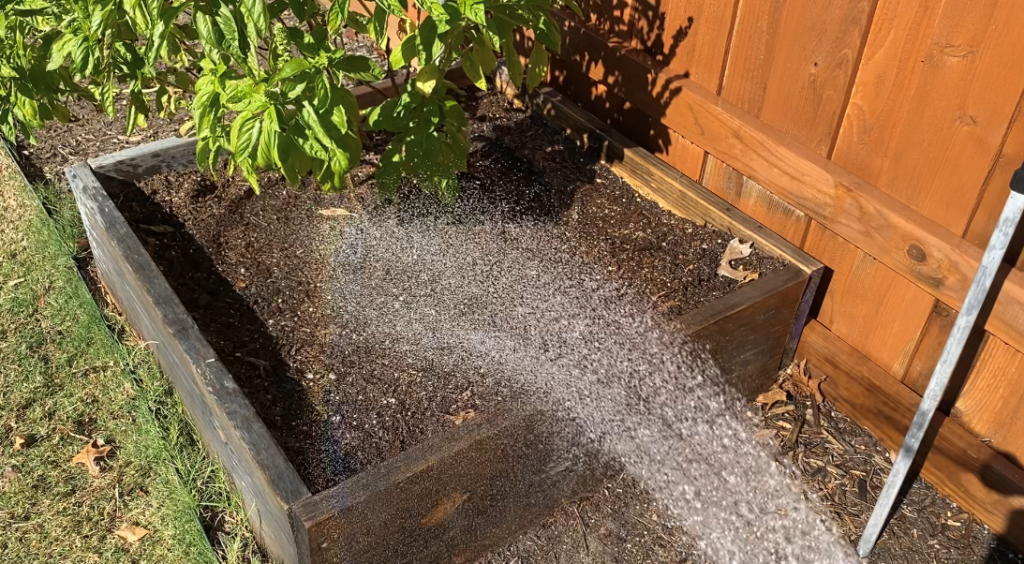
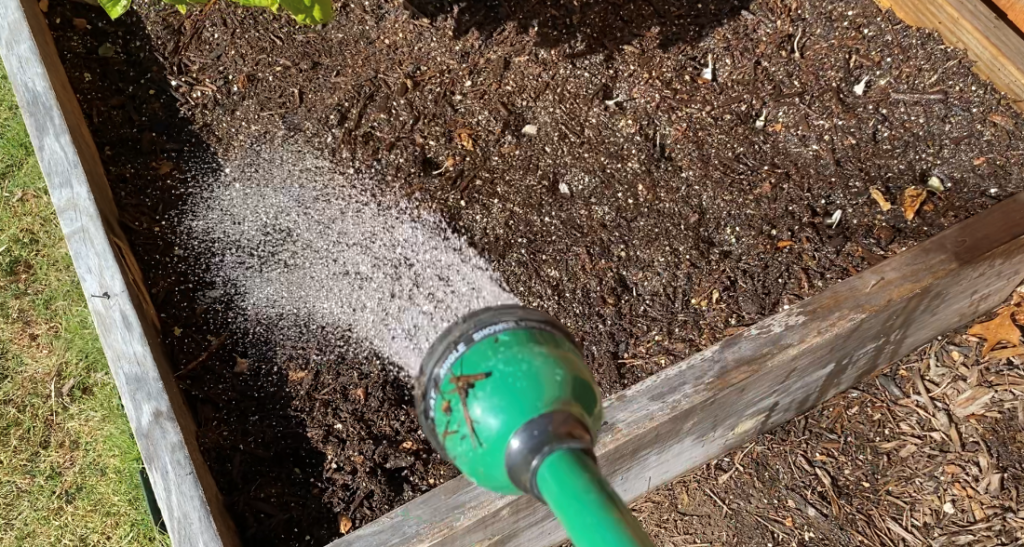
Step 5: Water and Cover with Soil
Water a bit to lock in extra moisture.
Cover garlic with soil.
Water a little bit more and you’re done!
The Garden Tots Plant Garlic
I don’t know why I procrastinated this for so long, because it didn’t take me long at all. Maybe 10 minutes tops! And that’s with two toddlers who always tend to make things take longer than normal (haha).
My kids got involved right at the fun part – where we put the individual cloves into the pre-made holes. My three-year old did a great job of making sure that the pointy side was facing up.
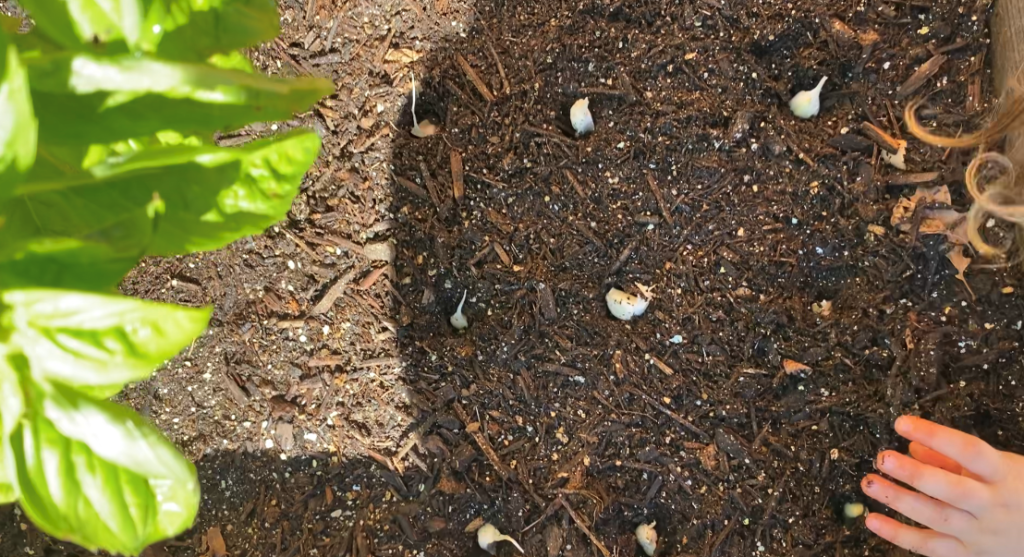
I also had her help me count the cloves and practice those math skills!
I never ever force this, but I love to offer educational opportunities in a non-structured way and see if she takes it. Sometimes she “plays math” with me, other times she isn’t interested. Both are fine with me!
I do love gardening for the extra educational “games” we can play together.
Garlic Next Steps
Short and sweet, right? Just remember: pointy side facing up and the ‘one-thumb and one-hand’ rule for spacing and you’re done.
- I will continue to water regularly… we are talking about 1/2″ to 1″ per week (this is pretty much what I give the rest of the garden, so that makes it easy).
- I will look for signs of sprouts around 4-8 weeks after planting.
And hopefully I will have beautiful garlic ready to harvest by May 2021.
Let me know if you’re planting garlic and if so, what’s your experience like. Feel free to let me know your best tips in the comments below.
PS...
I wanted to share that a few days after we planted the garlic, I noticed that there was a clove that somehow was sitting out in the open!!
I honestly have no idea how that happened (maybe my dog) and it was just a single clove – but the cool part was that it had already sprouted ROOTS!
We’re talking just four days after the initial planting. This is a sign that good things are happening. Let’s go baby garlic!