WHY START SEEDS?
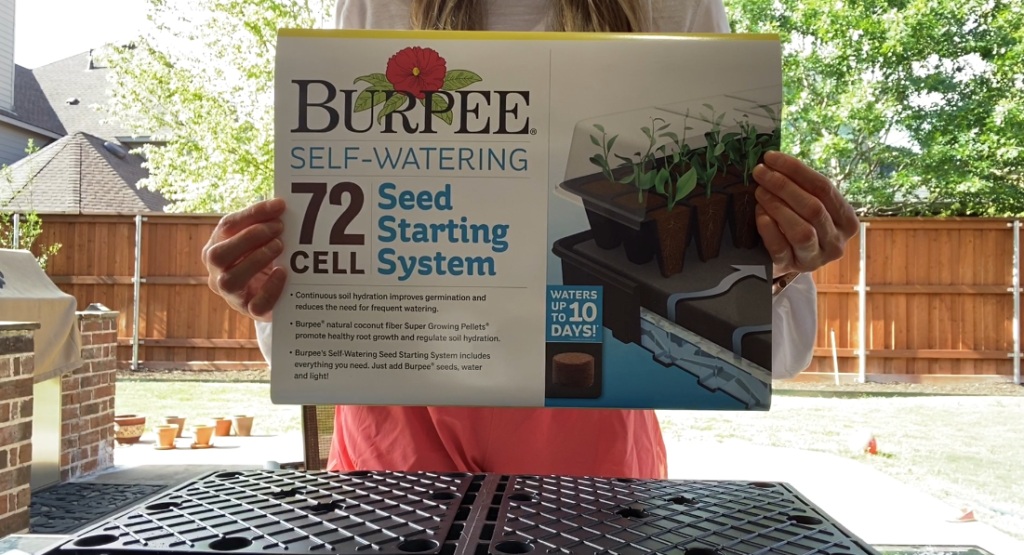
Hey guys! Just wanted to share a product with you and let you know my thoughts. Today we are going to be talking about the Burpee Seed Starting System, which is an all-in-one indoor seed growing kit. My seeds are just now starting to sprout which is so exciting, so I don’t feel like I can do a full review until I’m done using it… BUT I wanted to share a, “first impressions” blurb in case you are wanting to start seeds now and looking for something similar.
It’s important (especially for some kinds of plants) that you nurture the seeds and allow them to grow strong FIRST before transferring them to the ground or designated container. This gives them the best chance of success versus simply sprinkling seeds in the ground and hoping for the best.
I originally wanted an all-in-one grow kit. Something I could plug in with a light, a fancy stand, and of course the seed pods/cells… but unfortunately due to the time of year (me starting in April) or perhaps even COVID-19, everything I liked at a reasonable price point was sold out. However, I was able to find the Burpee Seed Starting System at The Home Depot for about $20. Note, I snagged the last 2 at my local store!
UNBOXING THE BURPEE SEED STARTING KIT
Basically, this kit has everything you need – except the recommended heat mat and the recommended indoor growing lights. That was a little disappointing for me because those were 2 things I don’t have. I did look on Amazon to see how much these accessories would cost, but for some reason I didn’t want to pull the trigger. I decided that I would wing it and set my kit outside in the Texas heat and “see how it goes”… To be totally honest, I’m still a little disappointed that the pretty all-in-one systems were sold out and if I’m going to invest in something, I want that. This is what’s on my wish list for later on 😊
Upon unboxing the 72-cell seed kit, you will find:
- 1x large plastic tray
- 1x black and white wicking mat
- 2x stands
- 2x cells with individual pellet pods
- 1 wooden mixing stick
You just need to add water to get started!
set-up steps:
1. Separate pieces
The first thing you want to do is separate all the pieces so you can build the kit.

Per Backyard Sprouts, their pro tip is to water the base of the kit BEFORE putting everything together. This allows you to add the majority of the water you need and creates less of a mess versus adding the water at the end (as the instructions tell you to do) because the space to add the water is TINY! I followed this pro tip and I think it’s a good one.

2. Build Raised Stand, Wicking Mat, and Cells
Next add the two raised stands on top of your little pool of water.
Next add the wicking mat with the black side facing up, it just folds nicely over the stand in a u-shape and goes off the edges a bit. This little guy is what distributes the water to all the cells so you can set it and forget about it.
Now let’s focus on the seed cell pods! You want to make sure that all the pod circles are facing up-and-down. You want to have the smooth side facing up, not the round edges… I had a to flip a bunch of my pods.

3. Just Add Water
Once this is all done, you’re ready to expand your seed pods and add water. The directions say to add water to every cell, then wait 3-5 minutes. This is exactly what I did… at first! After 5 full minutes, I felt like NOTHING happened. I was so confused. I added more water… and more water… and finally some of the pods started to expand. I admit I made MULTIPLE trips to refill my water jug and kind of expected the process to happen faster… or smoother… or SOMETHING. So just note, that it might take more time than you think and it might take more water than you think.
4. Fluff Soil
Once the seed pods are nice and expanded, take your little brown mixing stick and fluff up the soil.
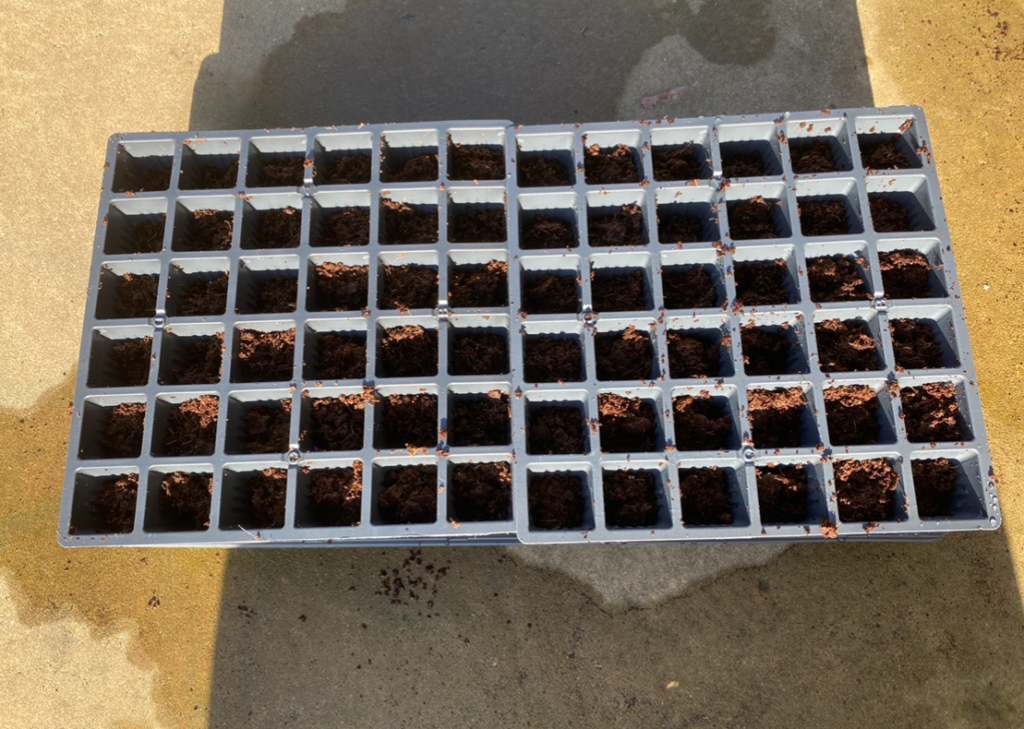
6. Plant Seeds
Add your desired seeds, recover with a little more soil…
Place the clear plastic lid over the kit and BOOM 😊 you are ready to wait.
Ending Thoughts
So to wrap this up… my first impression is that this a nicely priced product with a lot of potential to start your seeds off right.
Everything was easy to put together and I was able to knock it out in about 45 minutes. It would taken less time if I was able to get my pods to expand faster. This is probably my only complaint.
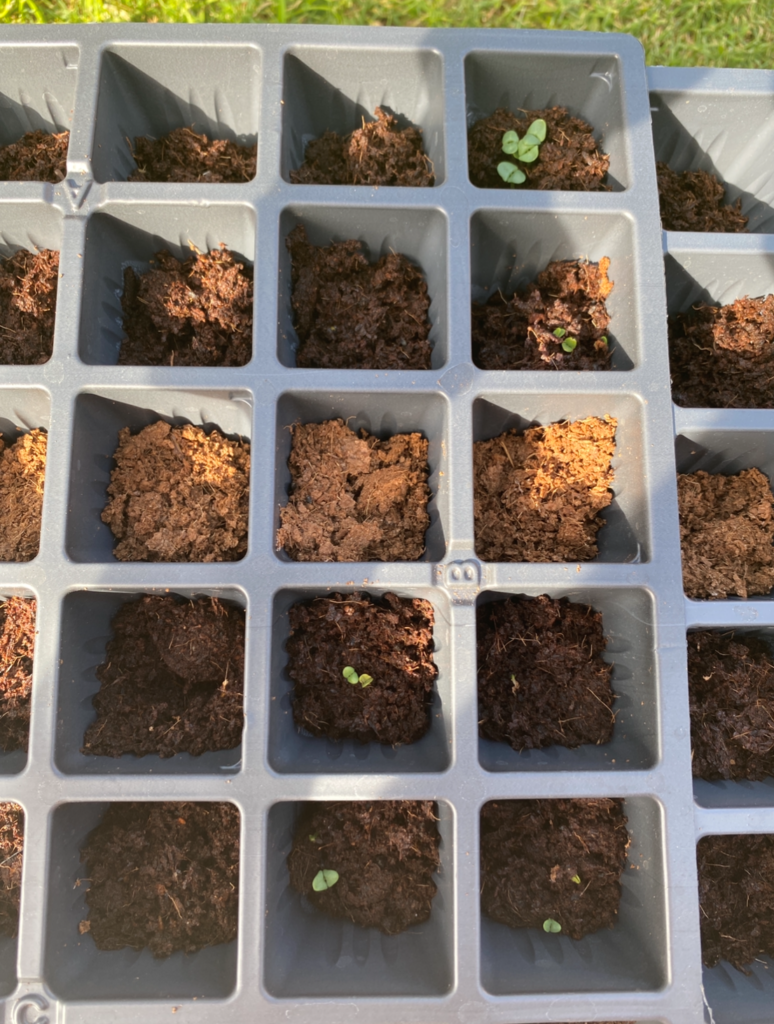
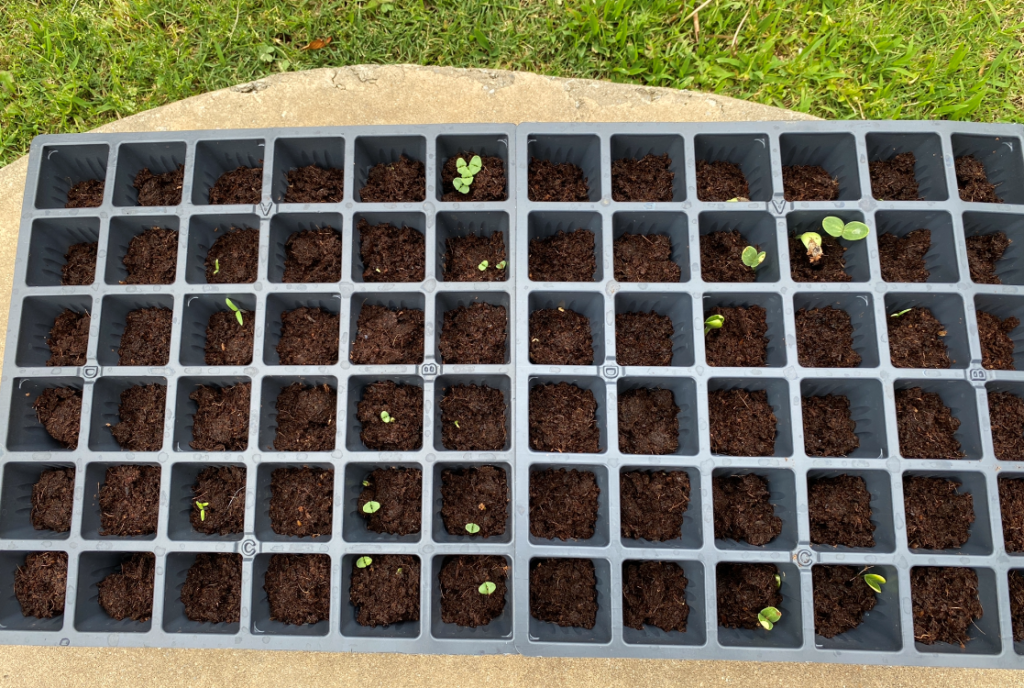
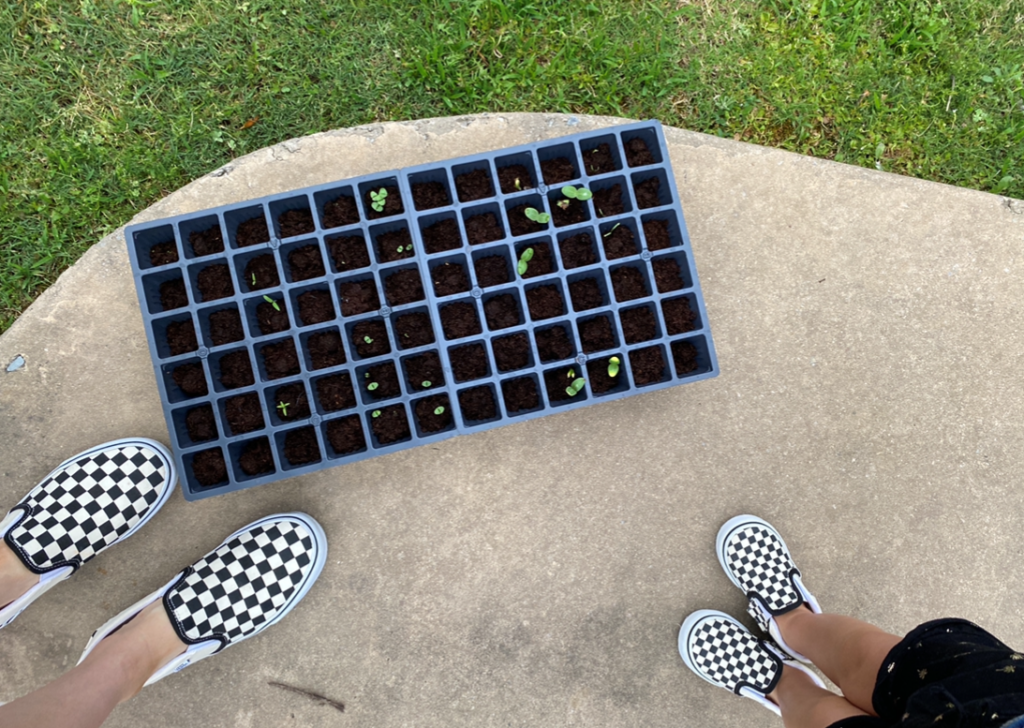
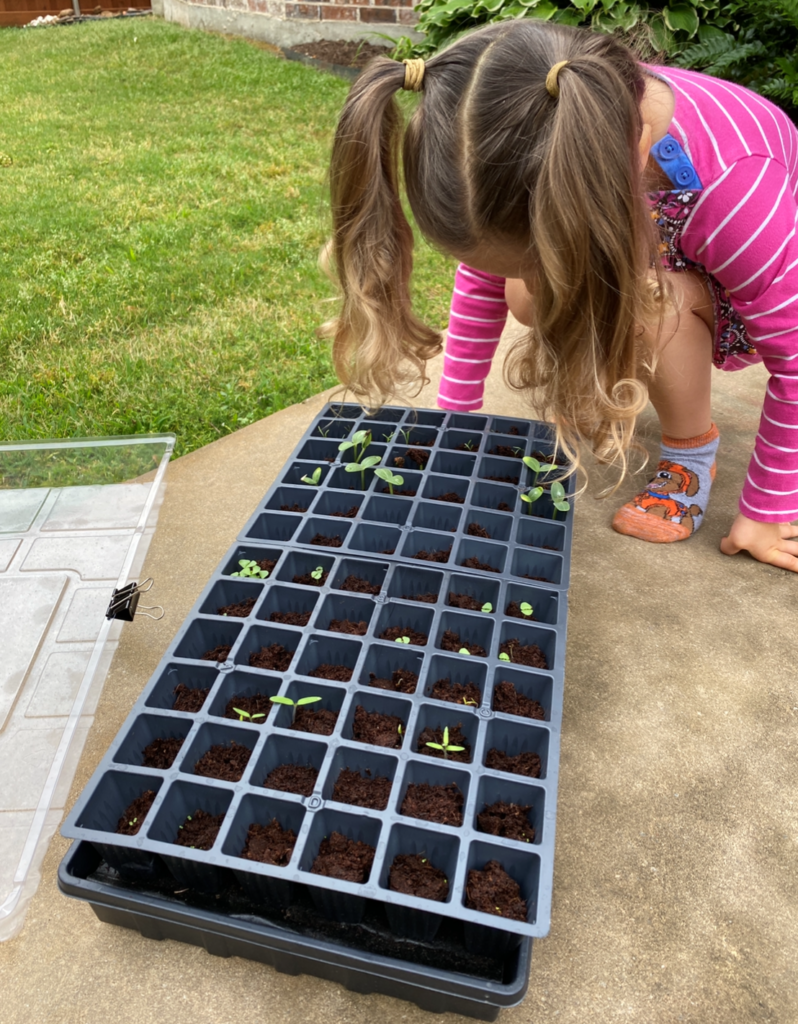
Other than that, things are looking good and I’m excited to see how my seeds turn out. I will write a follow up post and report next week. In the mean time, check out my progress photos below of the first 10-days.
Seed Starting Progress