bUILDING THE SQUARE FOOT GARDEN BOX

In my last post, I introduced Square Foot Gardening and talked about why I decided to follow this method. If you didn’t catch that, go check it out here 😊 Pretty much the first step in the process is constructing the box! Seems straightforward, right? You pick your spot and build a simple box. 

Square Foot Garden Child's Size Box

I am constructing the child-size version of the Square Foot Garden, which is 3-foot x 3-foot (9 squares) because I want something my toddlers can easily reach. I plan to have three of these gardens (27 squares total).

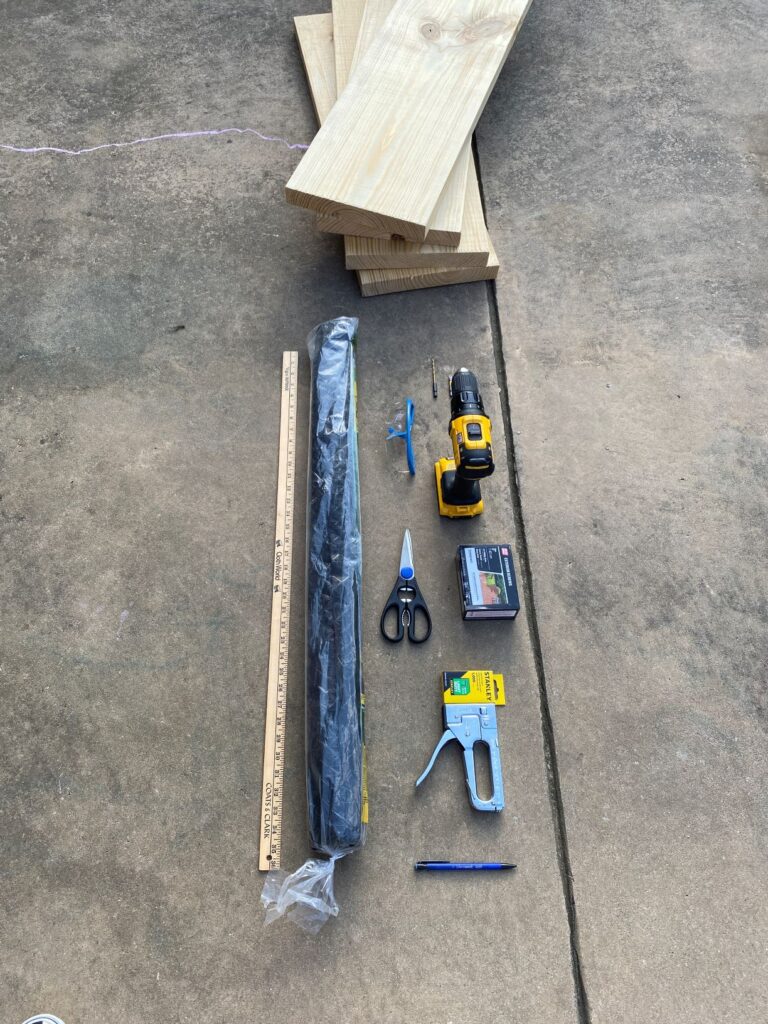
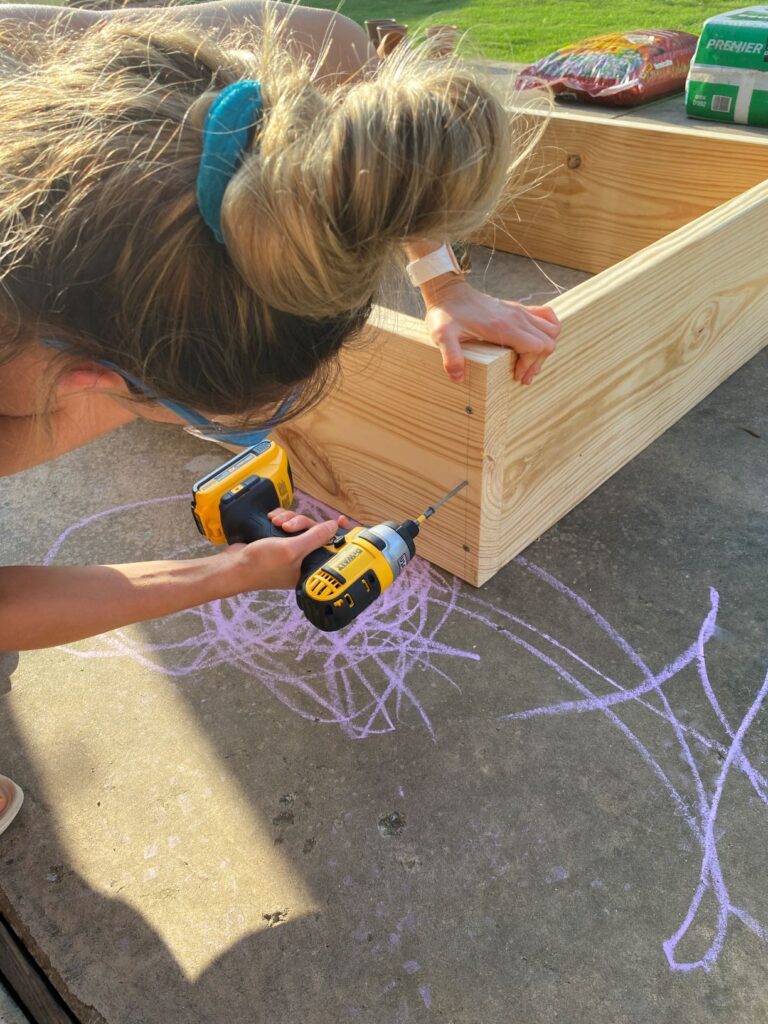
First, grab the supplies at your local hardware store. I decided from the beginning that I wanted my boxes 10” high. I know the book says that 6” is all you need, but it seems a bit more comfortable (i.e. less bending down) if they come up a little higher. Plus, I personally think it’ll look a little better if it comes up a bit more (but it’s 100% a personal choice).

What You Need:

Supplies to create one 3×3 box frame:

  • 2”x11”x12’ pressure treated pine, cut into three-feet boards
  • (20) 3” exterior deck screws – coated to withstand the elements
  • (1) roll of weed blocking landscape fabric
  • Power drill with 1/8th of a drill bit
  • Pencil
  • Ruler
  • Staple gun
  • Light duty staples
  • Scissors
  • Goggles (optional)

Form the Shape of the Box

It’s a good idea to lay out the shape of your box and decide which pieces of wood will go where, which direction they’ll face, and which sides will be on the inside and the outside. It doesn’t REALLY matter, but I would prefer for my “pretty sides” to be on the outside.

Mark Your Guide Holes

Once that’s in a good place, you want to measure out and pencil in your guide holesCreate a line that’s ¾”of an inch wide, since we want this to hit exactly the width of our box.

Then we want three dots (along that line) to mark where the screws will go: 2” down, 5.5” down, and 9”down from the top is where I drew mine

Drill through your Guide Holes

With your goggles and power drill, start drilling the three guide holes one board at a time.

Add Screws to Square Foot Garden Box

Once all your guide holes are drilled through (3 holes on 4 boards), it’s time to screw it together! I drilled the top hole, bottom hole, then middle hole – in that order. 


Do this 4 times until the square is complete. At this point, we have a picture frame-looking structure. 

Cut and Add Fabric to the Bottom

Next flip your box upside down and get out your fabric. We used a weed-blocking fabric… something you would lay down under mulch to allow draining but keep out weeds. Simply stretch out and staple down one side at a time. Cut off any excess fabric.

Your Square Foot Garden Box is Complete

TA DA! You have your box – with four beautiful handmade sides, a good fabric base, and are ready to transport to wherever you plan to grow your garden.

The Next Step is Filling Up