LETS YOU "VIEW" THE ROOTS
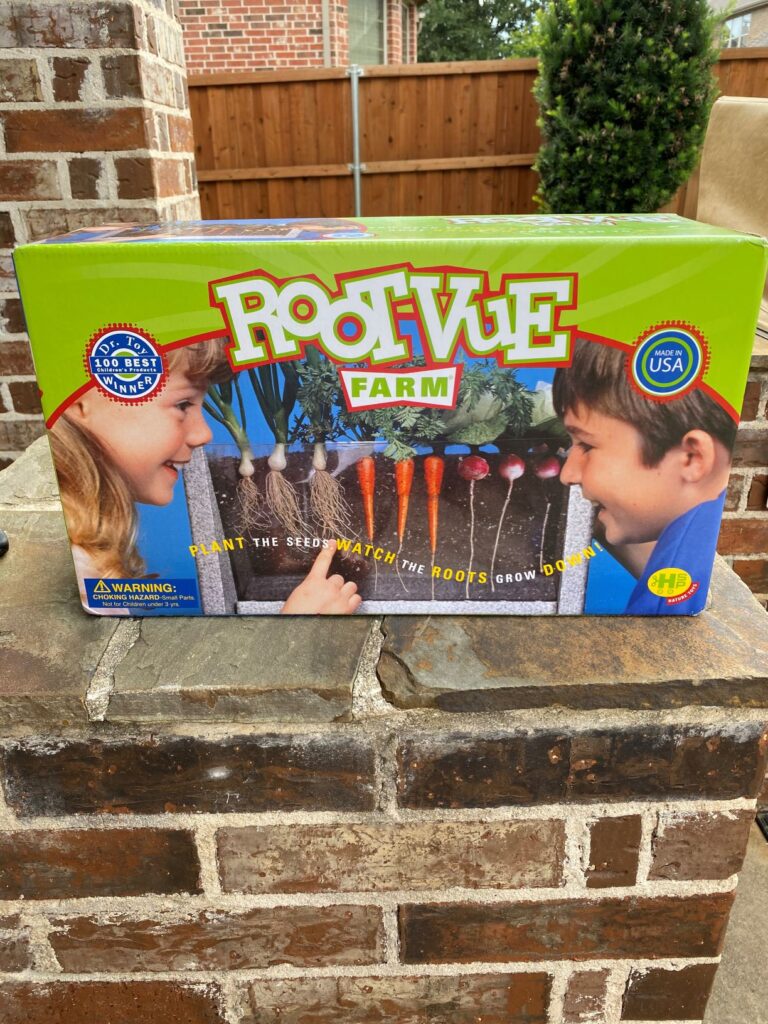
Let’s talk about the Root-Vue farm kit!
I saw this cool little toy on Amazon and thought it was perfect, considering how much we’ve been gardening this summer, to teach my kids the different parts of the plant.
Sometimes seeing is believing…or is JUST the thing needed to understand. Any other visual learners out there?
I’m exciting to use this tool to teach my kids about plant roots.
It’s my goal is ensure that they know what roots look like and what they do for the plant.
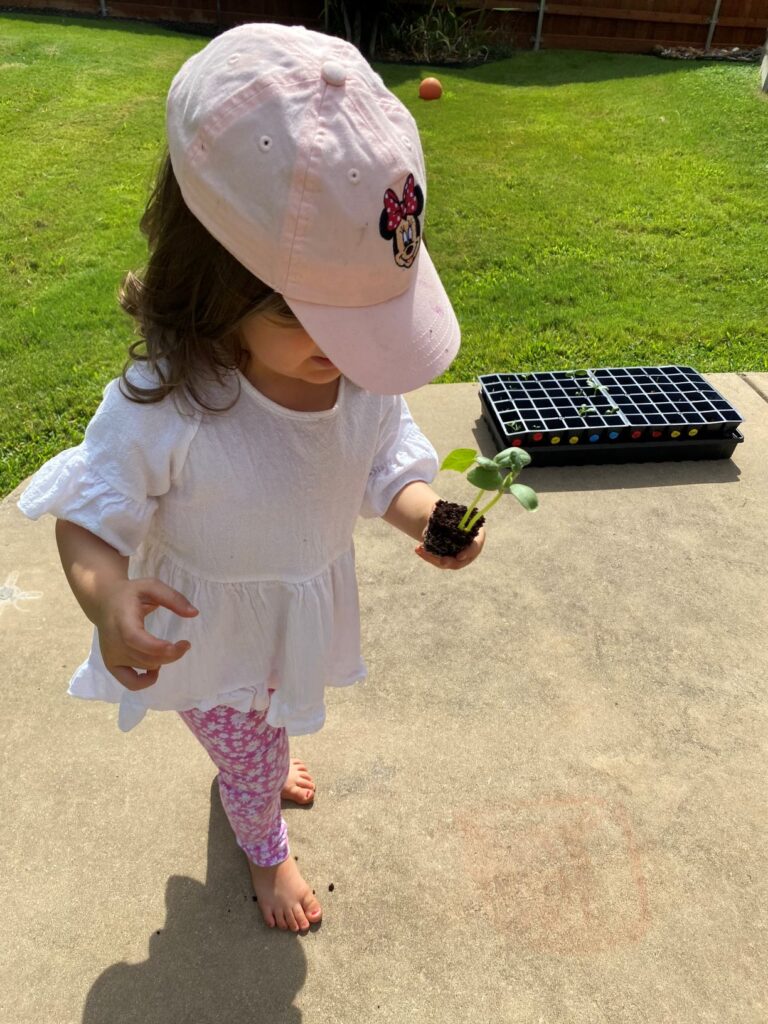
Of course, my kids have seen plant roots before!
In fact, each time we plant something new out of the seed starting kit, I always make it a point to show my kids the roots.
You can imagine the drill…I pretend to be a science teacher and teach my kids the plant anatomy…
“These are the leaves… these are the roots… this is called a stem…”
They know that roots grow underneath the plant and suck up water like a straw.
They are both super young (only 2 and 3 years old) so I try to show them as often as I can… repetition is key with young kids. Hopefully by the time they get to school, they will know what’s up.
This gardening toy intrigued me because it allows you to see roots IN THE GROUND and get that sneak peak under the surface of the soil. I’m super excited to see how the vegetables grow.
As you may know… we haven’t had the best luck with onions, carrots, and radishes… but I’m optimistic this will work.
If it doesn’t… that’s okay, we can try again. The kit came with a seed packet of each veggie which is pretty cool.
PUTTING THE ROOT-VUE FARM TOGETHER
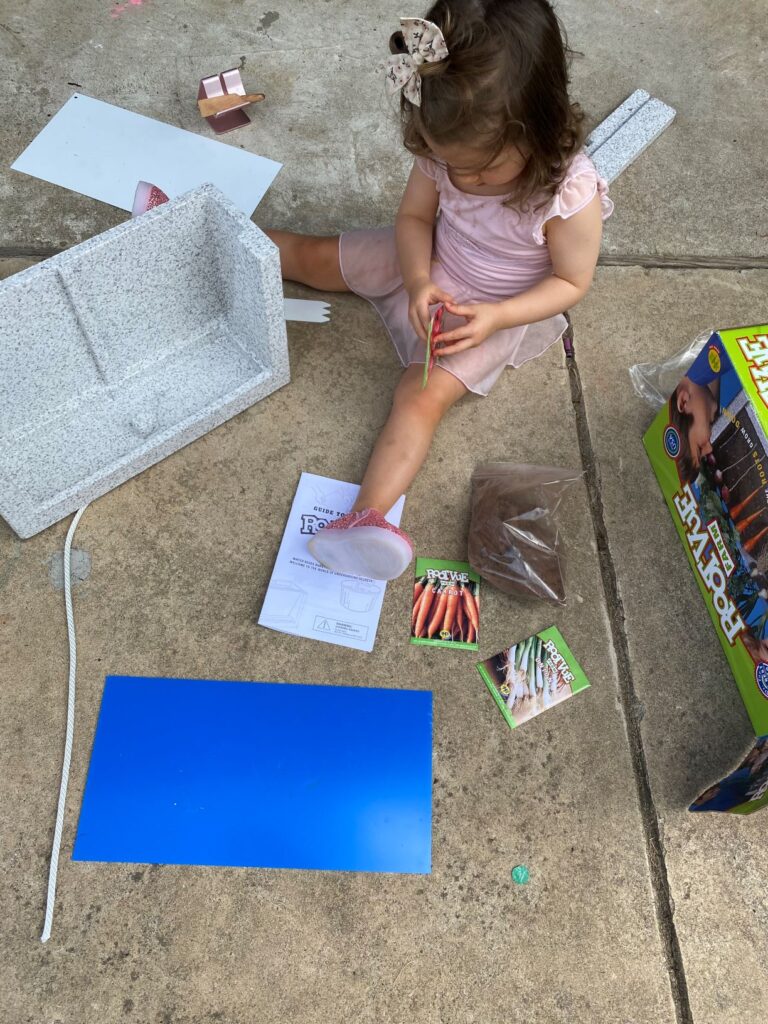
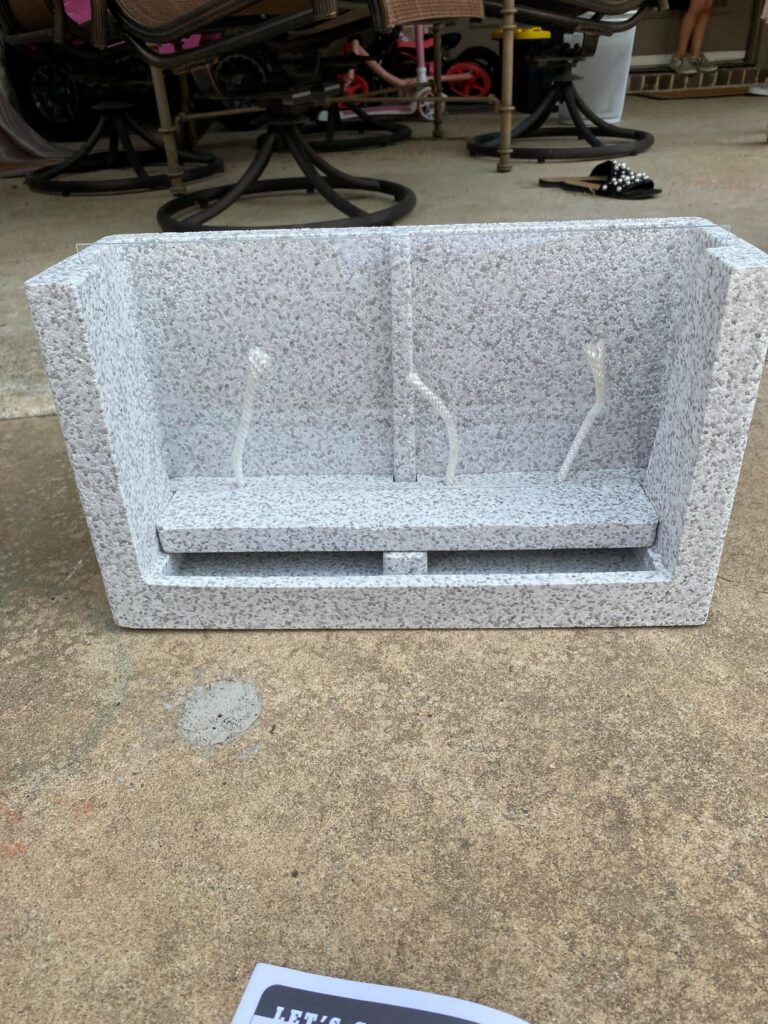
STEP 1: UNBOXING & SET UP
- You take everything out
- Remove the blue film over the acrylic viewing window
- Cut the white rope into (3) six inch pieces
- Insert the rope into the base holes, this is what will give the seeds water
- And set up the frame
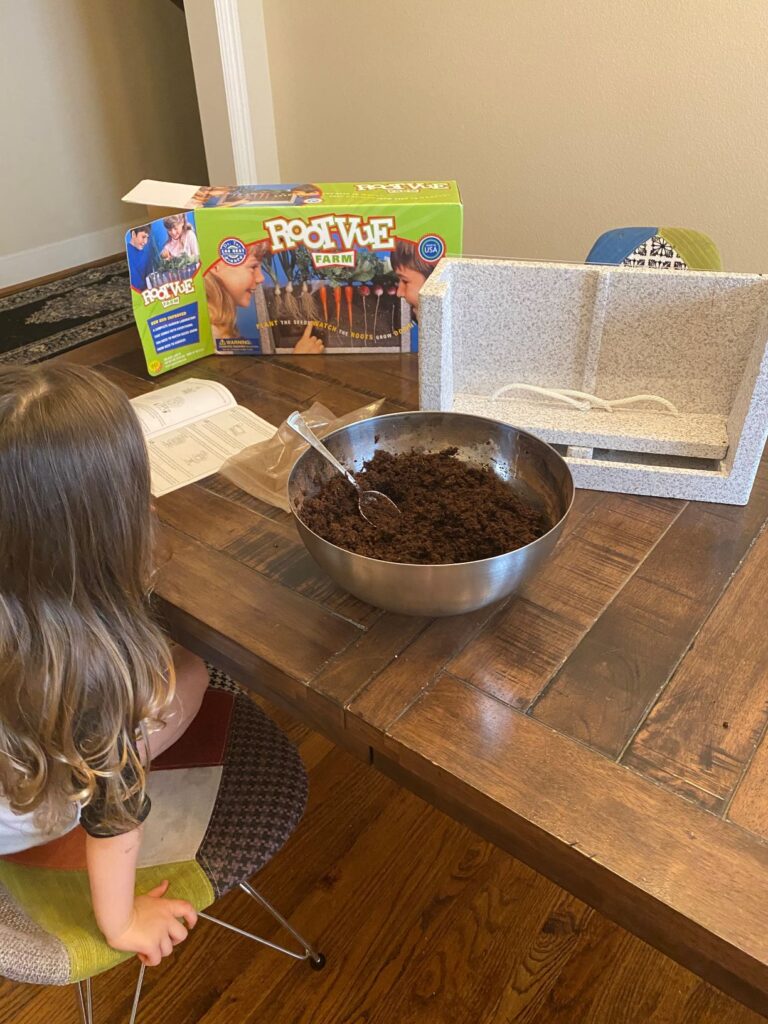
STEP 2: PREPARE SOIL
We just dumped everything into a large mixing bowl and added water.
The soil broke up quickly (much faster than our seed starting pods). My little helper helped me mix the soil.
Next transfer all the soil into the farm. Note: you kind of have to hold the white rope pieces up while you pour the soil. This keeps your wicks in place as you fill up with soil.
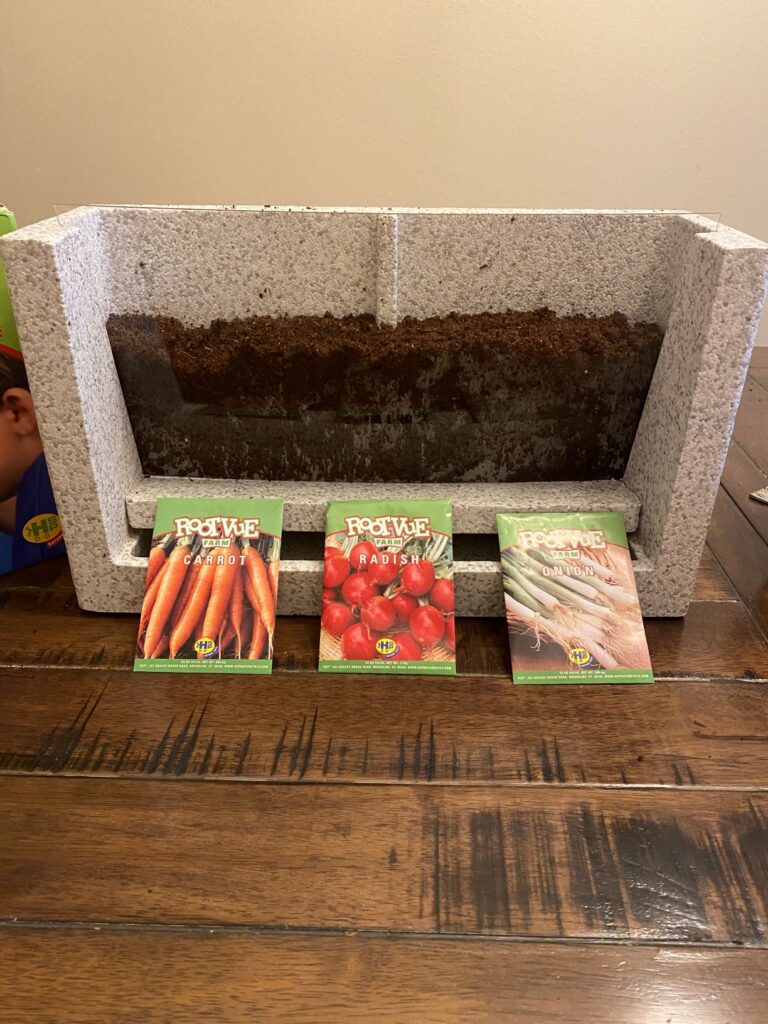
STEP 3: PLANT SEEDS & LABEL
The last step of the set up is to plant the seeds. We did about 3 seeds of each kind, spaced about 1.5” apart.
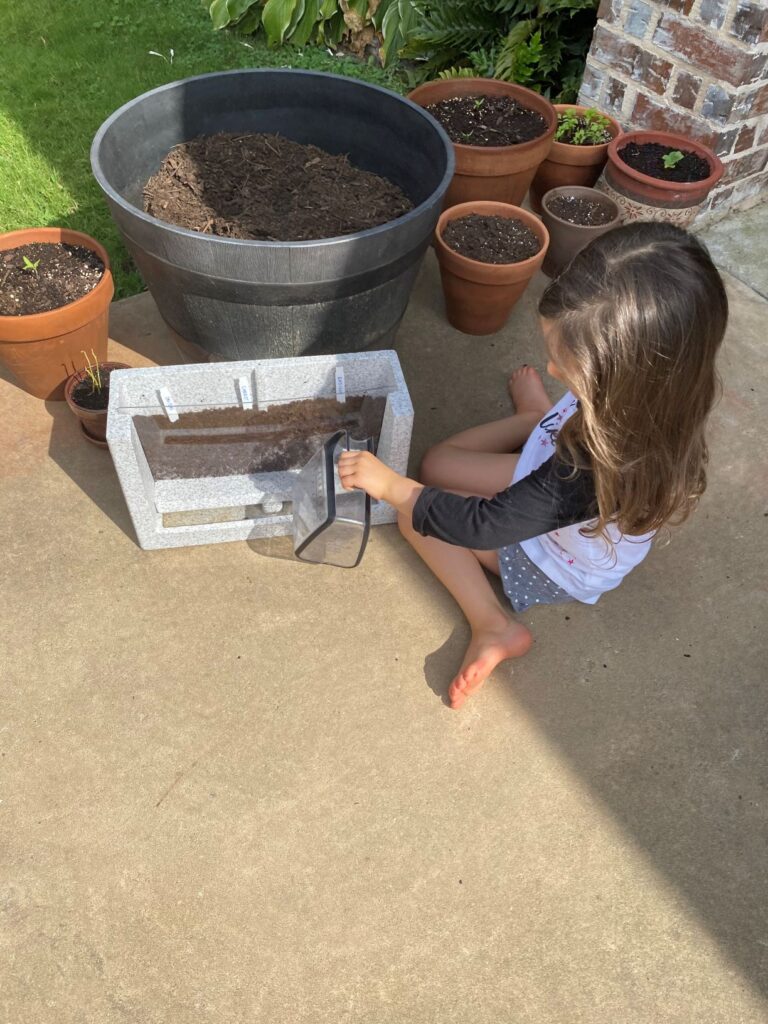
We don’t really have a good window for light, so I’m sticking them outside in a partial sun section on our patio. It’s also pretty warm out there so I think that will help with germination.
My assistant gardener helped with the very last step which is pouring a cup of water into the base of the farm.
And now we wait for the magic!
ROOT-VUE SEED FAIL
Sadly, the first round of plants did not sprout. We used the seed packets that came with the kit – carrots, onions, and radishes – and unfortunately, nothing came up. Please note we followed the instructions which say to use 2-3 seeds every inch or so across.
I didn’t want to give up because the concept is so cool. So I just used my own seeds and planted radishes only, over the existing seeds/soil.
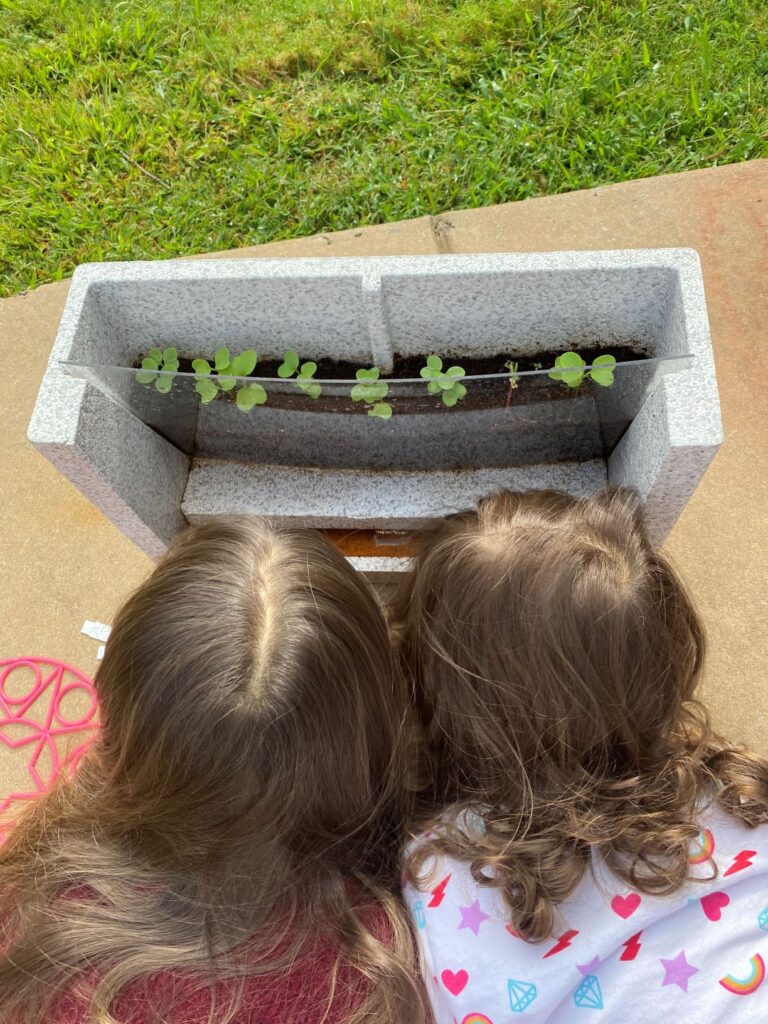
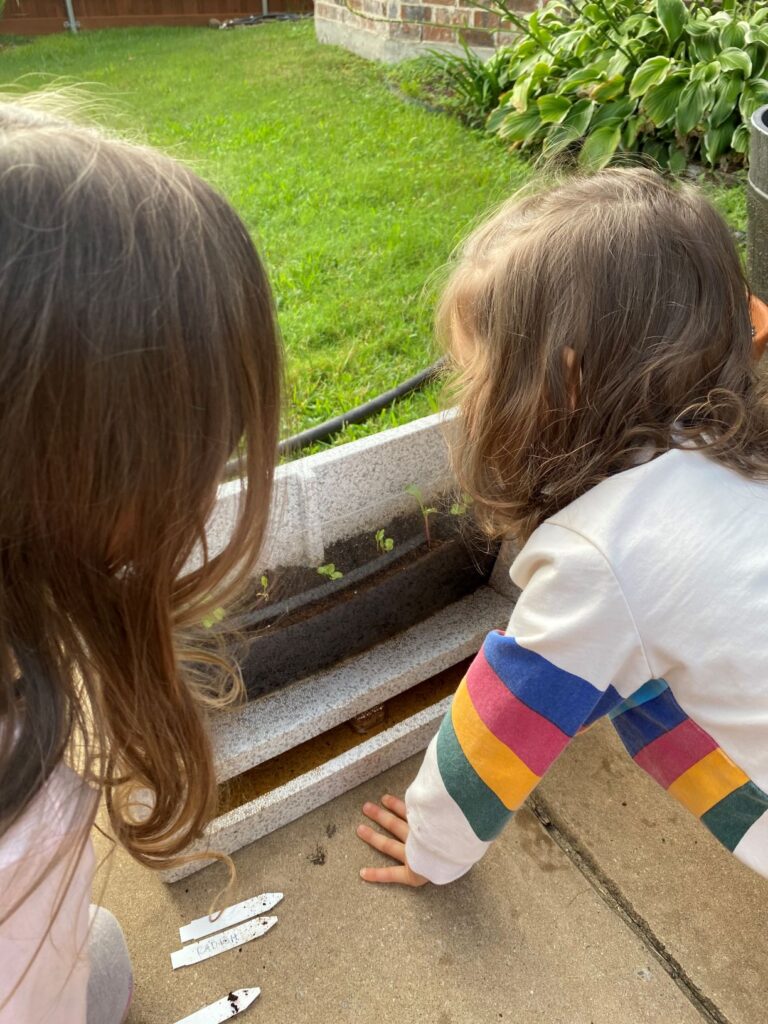
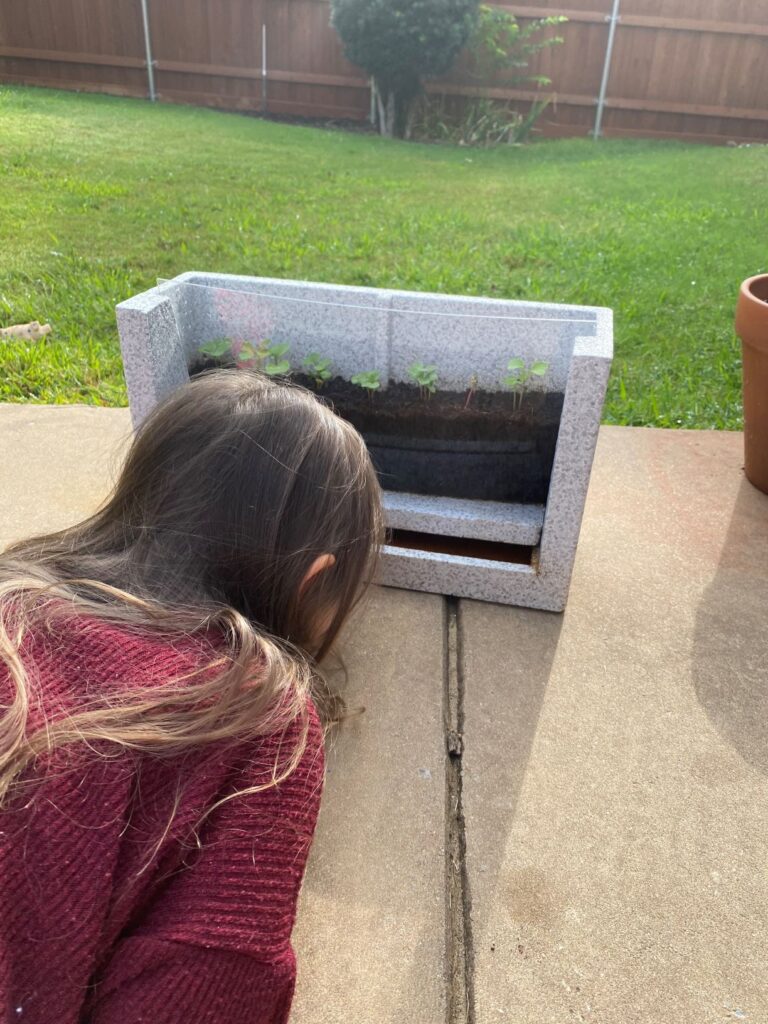
ROOT-VUE SEED SUCCESS
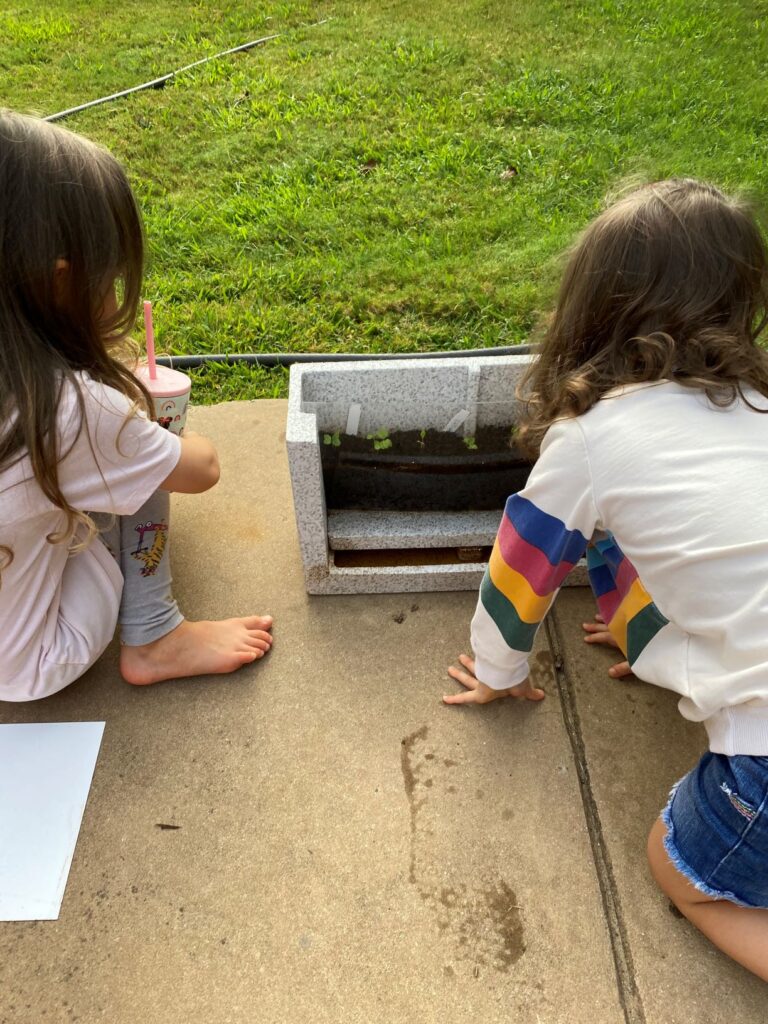
We waited about 10 days and sure enough, little sprouts of green have surfaced! We are so happy to see our little seedlings.
ROOT-VUE CONCLUDING THOUGHTS
I LOVE THE CONCEPT OF THIS GARDENING TOY
It’s a little bit of science, mixed with a little bit of gardening… to equal a bunch of FUN!
I PLAN TO REUSE THE PLANTER
I plan to keep the actual planter and just refresh the soil and seeds.
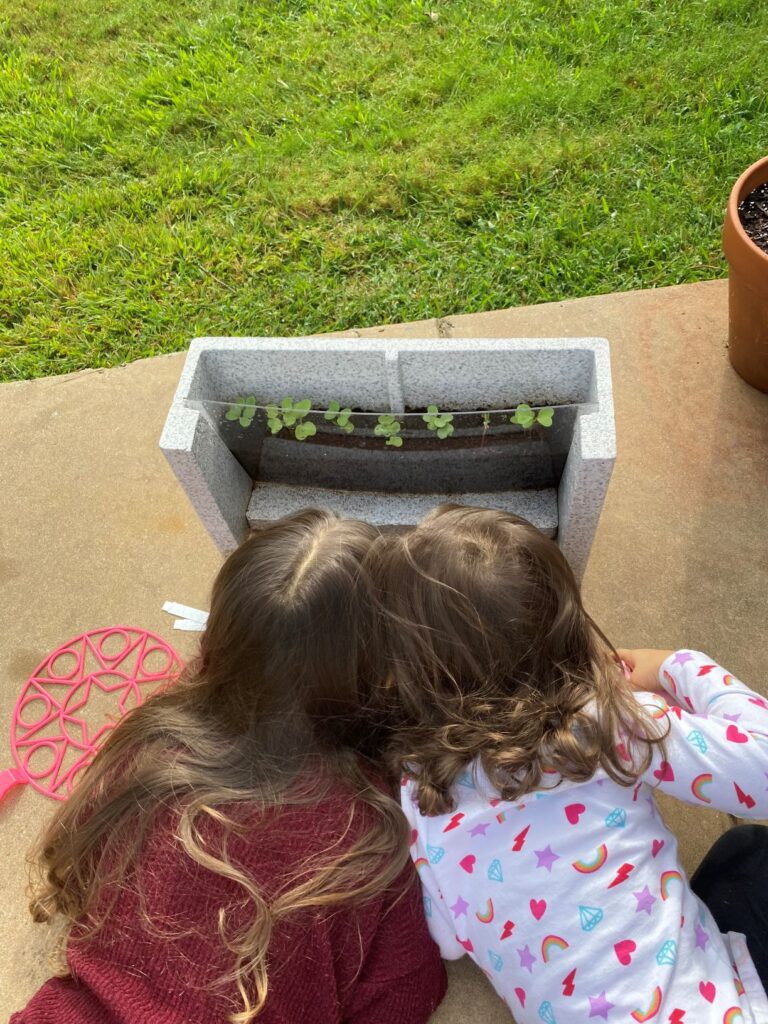
I think it’s so cool to show your kids the roots of plants and really drive home the concept of knowing what plant roots look like underground.
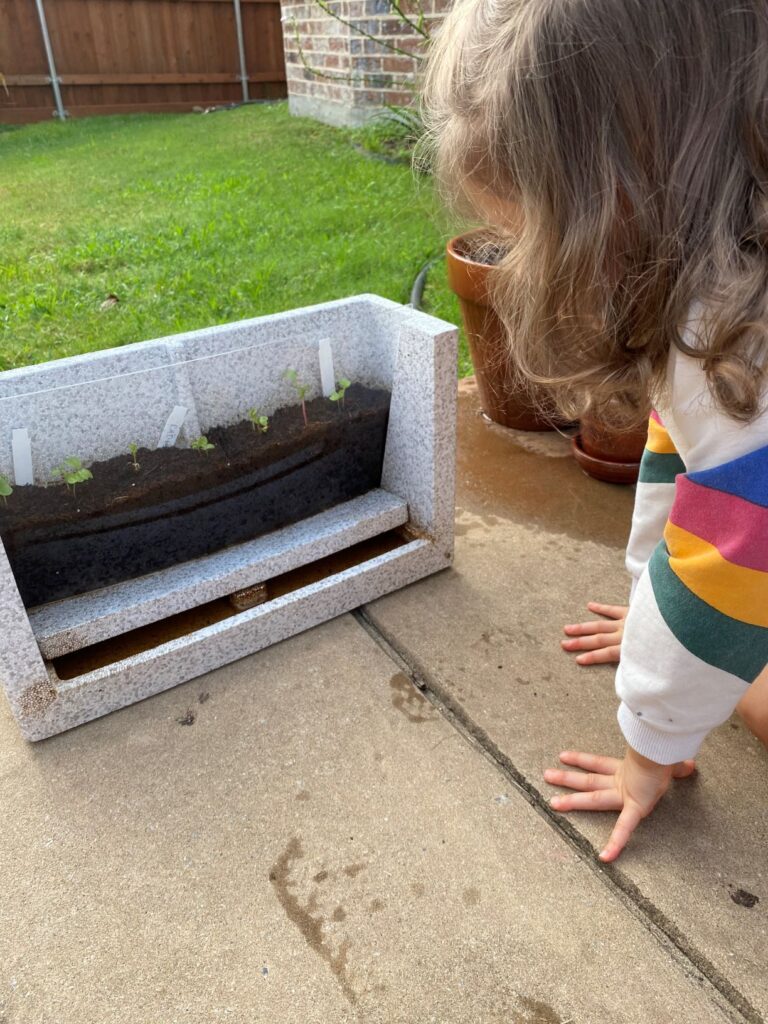
NEXT TIME, I WILL...
Moving forward, I plan to drop the seeds CLOSER to the viewing window. I think it’ll be easier to see the roots if the plant is closer to the window versus in the middle of the planter (which I did).
However, I’m optimistic to think that once the vegetables grow a little bigger, we will be able to see the roots more clearly.
Also, don’t give up and throw it away if your seeds don’t sprout. The soil is likely just fine… just give it another try with new seeds and see what happens. Maybe change the light situation, and see if it yields better results.
If you’re in the market for a fun gardening with kids activity, then this is Garden Tots approved!
Let me know if you’ve tried this or plan to. I’d love to know about other kid-friendly activities that help little ones better understand the different parts of the plant.